Thursday, February 23, 2012

Butterfly Card - Thinking of you


Pin It


This card was created for the Fantabulous Cricut Challenge for this week.

Click on the challenge description above, to go the Fantabulous Cricut Challenge and join the fun.


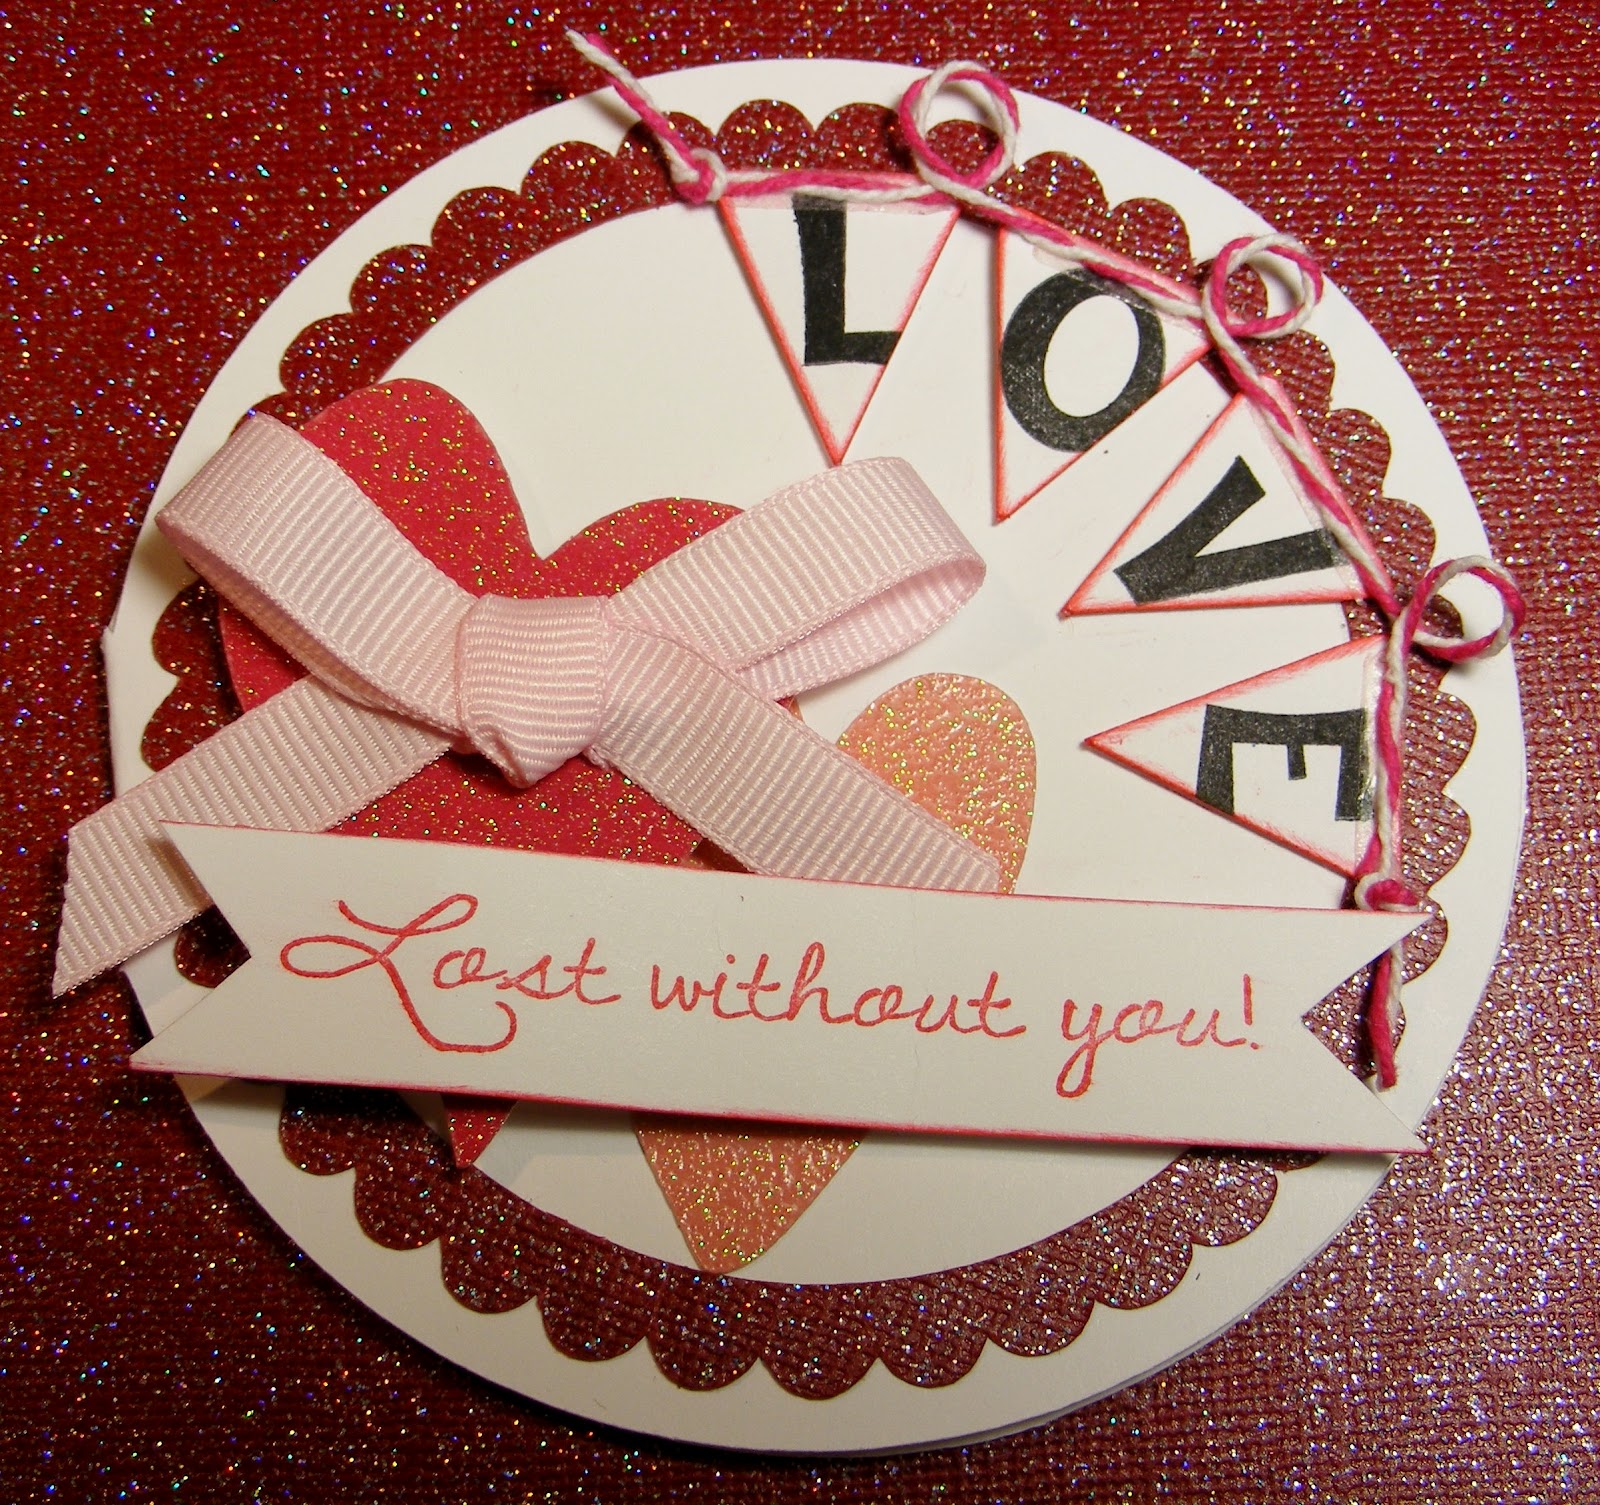
I had an old shirt that had holes in it. Lately I have been saving old clothes, in-case I can use them in a project. So I cut the bottom hem off this pink shirt.


I put score tape across it near the hem stitching.


 Then I carefully folded the fabric back and forth as I adhered it to the card. Then I tucked under the end and adhered it. After that I found some ribbon that I wrapped around the card to finish off the pleated fabric, and tied a bow.


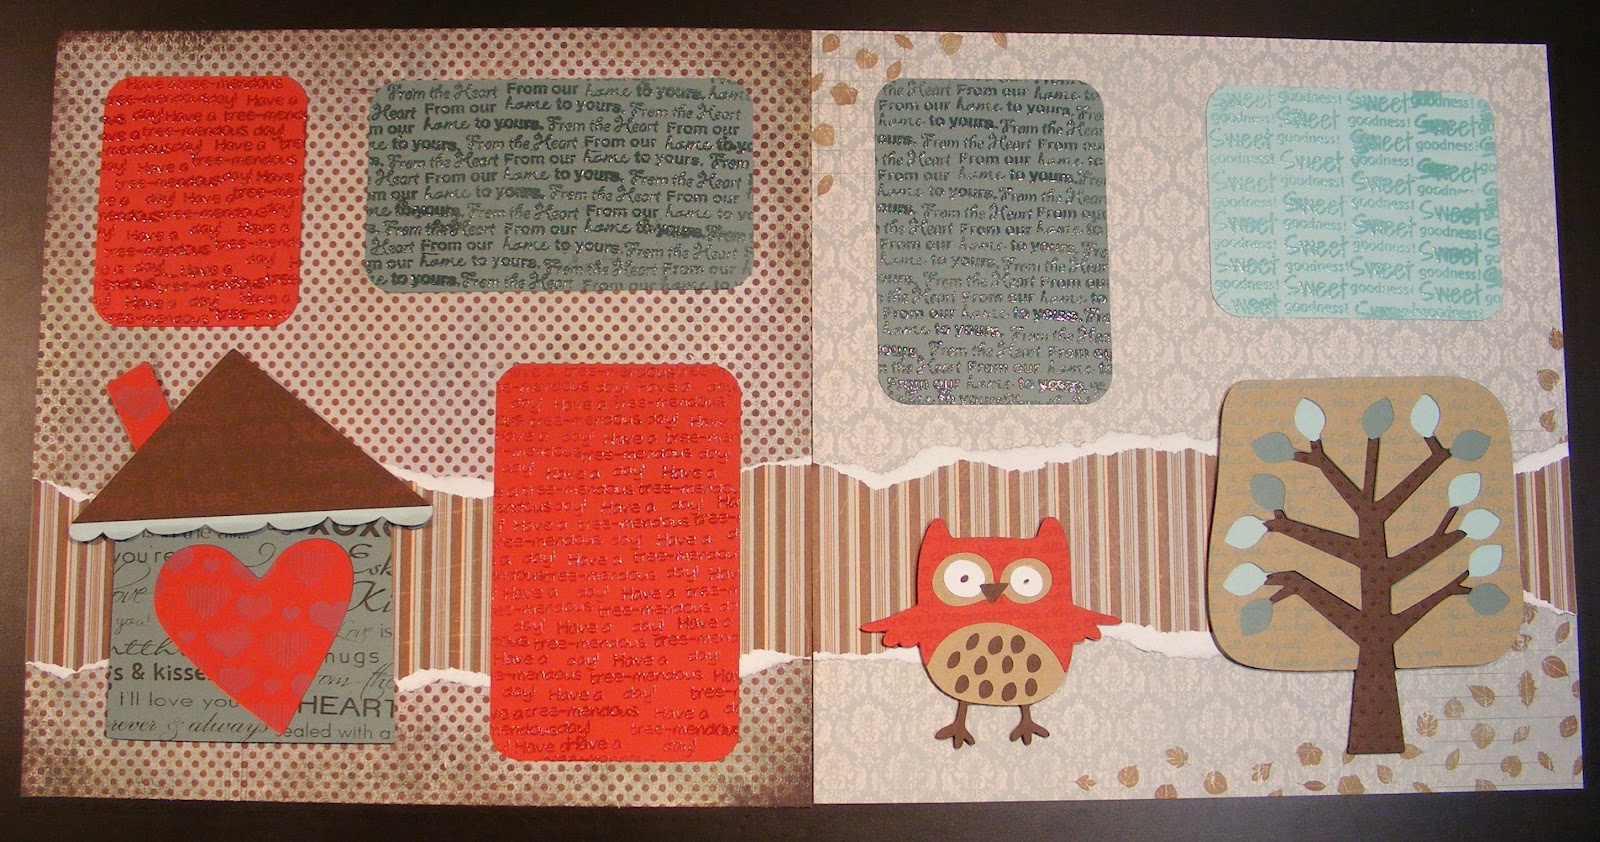
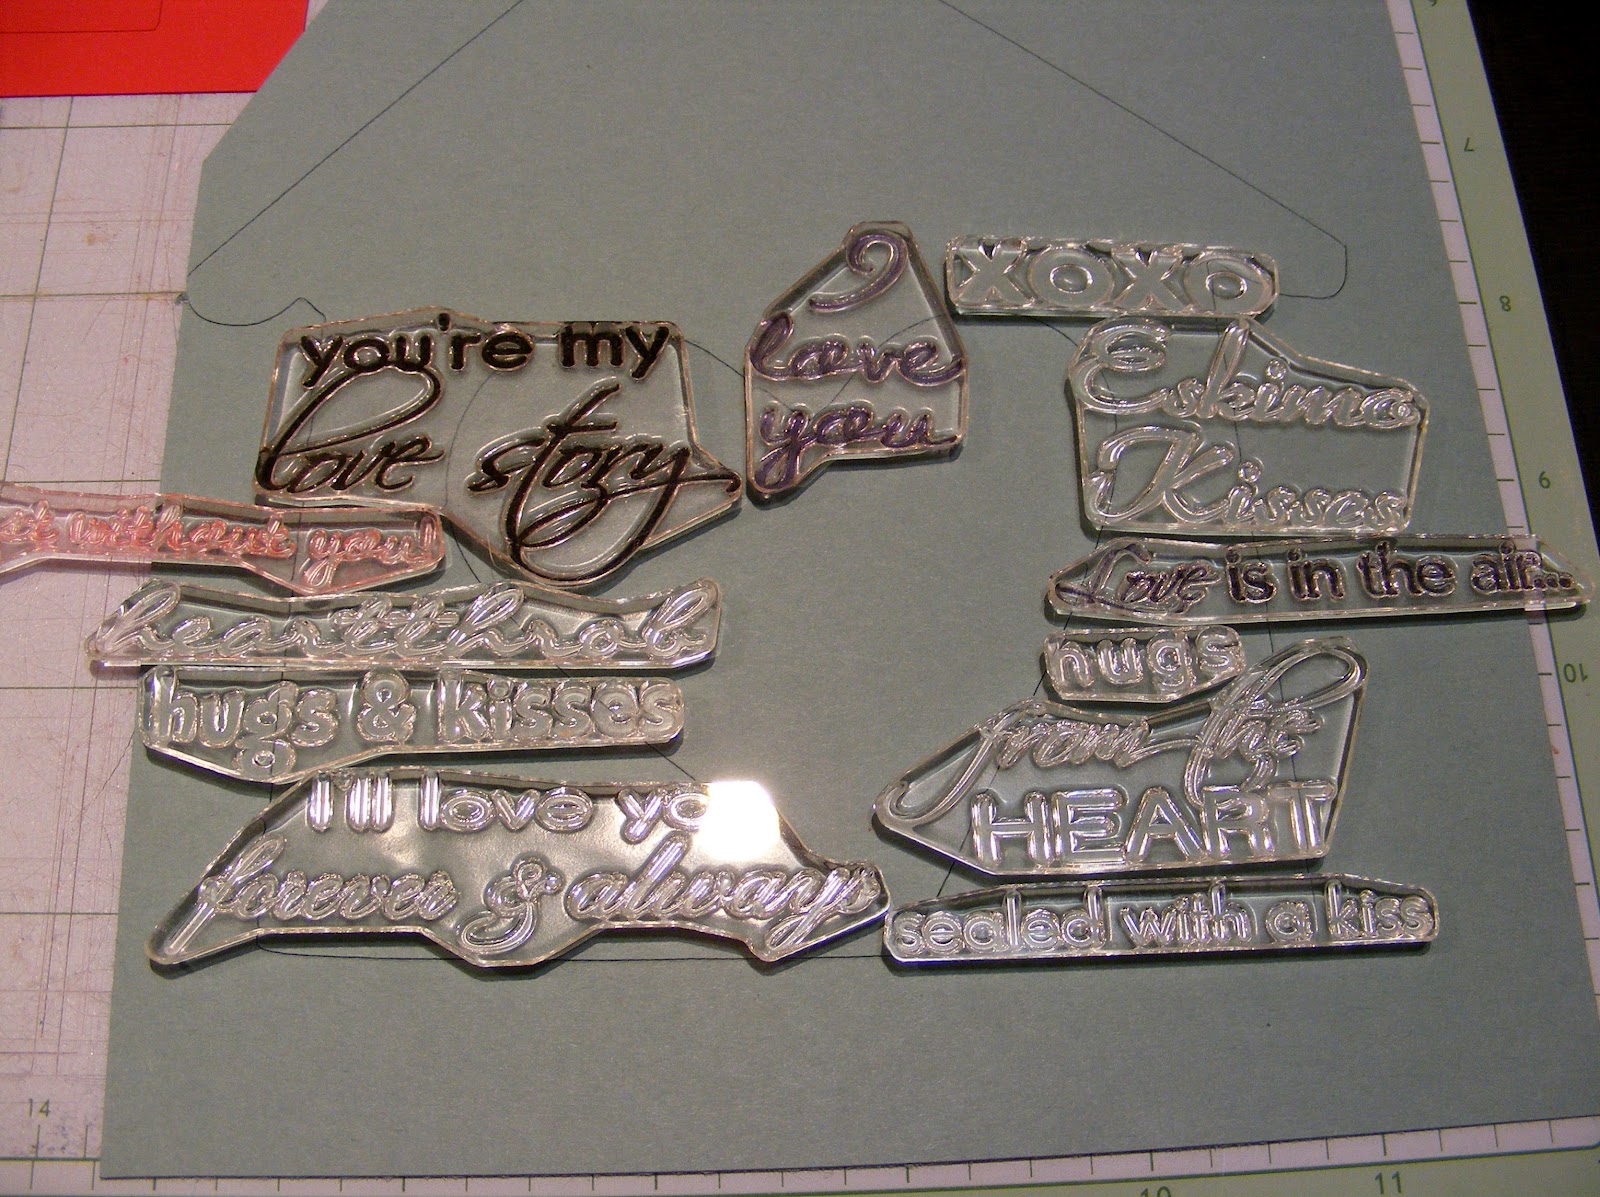
 Stamp- My Pink Stamper's - Fabulous Phrases Stamp Set
To see all My Pink Stamper Products, click HERE.


Butterfly and Cage cut from the Cricut using Bloom Cricut Cartridge. Cut at 2 3/4 inches. I used Core'dinations paper for the cuts. Then accented them with Crystal Stickles and Recollections Rhinestones. The butterfly had foam adhesive under the middle and the wings folded up to add dimension. The top of the cage had foam adhesive but the bottom of the cage I used score tape since the fabric raised that part of the card up.


Thank you for visiting my Simple Creations. 
Come back again for more projects created with a Cricut Machine and stamps.

-Angela

Tuesday, February 21, 2012

My Pink Stamper - February Design Team Project - Layout

Welcome to this months post, where My Pink Stamper's design team was challenged to use as many stamps as we could. I had so much fun with this challenge. I definitely used alot of stamps. Since there are so many techniques and details in this project I included a quick video and alot of pictures to show you what I did.


When you are finished seeing my Layout, go to www.mypinkstamper.com to see all the design teams amazing projects and how they used many stamps on them.


 This is how I layed out my the stamps. Then I put an acrylic stamping block on it. Inked it up and stamped it. I stamped it while the cut was still on my Cricut cutting mat since the stamps went over the edges.
 I used just 1 stamp over and over on the tree. It looks like a scripted pattern paper.
 
 I embossed the center of the tree base with the Cuttlebug Swiss Dots Embossing Folder. Only the center part of the tree showed so its ok that the folder is small.
 All the plain paper is by PaperTrey Ink. It is very thick and great quality. I love how it created such a dimensional tree because of all the thick layers.
 On the owl I used one stamp over and over with Versa Mark watermark ink. I didn't use any embossing powder on it but left it looking watermarked.
 All of these cuts were from the Hoot 'n' Holler Cricut Cartridge. It was a new cartridge that I hadn't used yet, so I picked it just for this project. I love how fun these cuts are.

This is how the red paper looked before(bottom) and after(top) I heat embossed it.


Supplies & Instructions
My Pink Stamper Stamp Set used on each of the following...
From the Heart
House
More Punny-licious
 Owl & Red Paper
Yummy-licious
 Tree, Dark Blue, and Light Blue

To order your own My Pink Stamper Stamps, click HERE.


Cricut Cartridge
Hoot 'n' Holler
House - button #4 cut at 6"
Tree - button #9 cut at 5.75"
Owl - button #45 cut at 3.5"

Paper
Solid Paper - PaperTrey Ink
Patter Paper - Dream Street Paper
(Stripes) Sam-Rock On
(Damask w/ leaves) Sam - Change is Good
Basic Gray - (Poka Dots) archaic/ancient
  
When you are finished seeing my Layout, go to www.mypinkstamper.com to see all the design teams amazing projects and how they used many stamps on them.


Friday, February 10, 2012

Pink-alicious Blog Hop - Love Card

Welcome to the Pink-alicious Blog Hop.
If you are coming from Andrea's Blog then you are right on track. If not, then begin the hop at www.mypinkstamper.com


 For this challenge we were to make a card with a circle, the color red, a pink ribbon, and more than one My Pink Stamper Stamp. So I wanted to make a different type of card. I wanted to make it with alot of layers and dimention to bring it all together.


Instructions and Supplies
Card Base: Smiley Cards Cricut Cartridge - button #1, Card Function cut at 4"
Scallop Circle: Home Decor Cricut Cartridge - cut at 3.75" (real dial size)
I glued and taped the glitter paper to the Cricut Cutting Mat so it wouldn't move as it cut.
Hearts: w/2 slots for ribbon - cut at 2.25", solid - cut at 2"
Flags: Mothers Day 2010 Cricut Cartridge - cut at 1"


Other Supplies:
Color Box Pigment brush pad - Cranberry
twine
ribbon
glitter paper
foam squares

Your next place to hop and be inspired is Carissa.

Here is the Blog hop order in-case you get lost along the way.

Blog Hop List--February


Thursday, February 9, 2012

Preschool Valentines - Quick and Easy

My oldest daughter is in preschool. This is what we made for her Valentine Cards at school. The teacher suggested having the students write their name on every card. So of course Ariel got alot of practice righting her name.


 My favorite tools to round corners, punch holes and set eyelets.
The "We R Memory Keepers" Corner Chomper and Crop-A-Dial

Instructions
I started with some scrap Valentine paper. Then rounded the corners. Stamped the sentiments. Had Ariel write her name over and over. Punch two holes for the suckers. Insert the sucker. Adhere the "from" label. These were really easy to make. I made 25 of them in probably an hour.

Supplies
Stamps: My Pink Stamper - 
From the Heart and Yummy-licious Stamp Sets
Suckers - from the Dollar Store (14 for $1)
Valentine Paper

To see all of the My Pink Stamper Stamps, click HERE.

Tomorrow night is our Pink-alicious Blog Hop. That is where we hop from all the My Pink Stamper Design Team Blogs. Its so much fun to see everybody's projects and be inspired to make our own creations. I have to tell you I had alot of fun with our blog hop challenge. To hop along with us go to www.mypinkstamper.com at 8pm (CST) Friday night.


Here we just a few of the different ones we made.