Showing posts with label Baby. Show all posts

Friday, August 1, 2014

New Idea Book, New Close to my Heart Products, New Project

Can you tell there is a theme going on in my Blog Post Title? 
NEW!
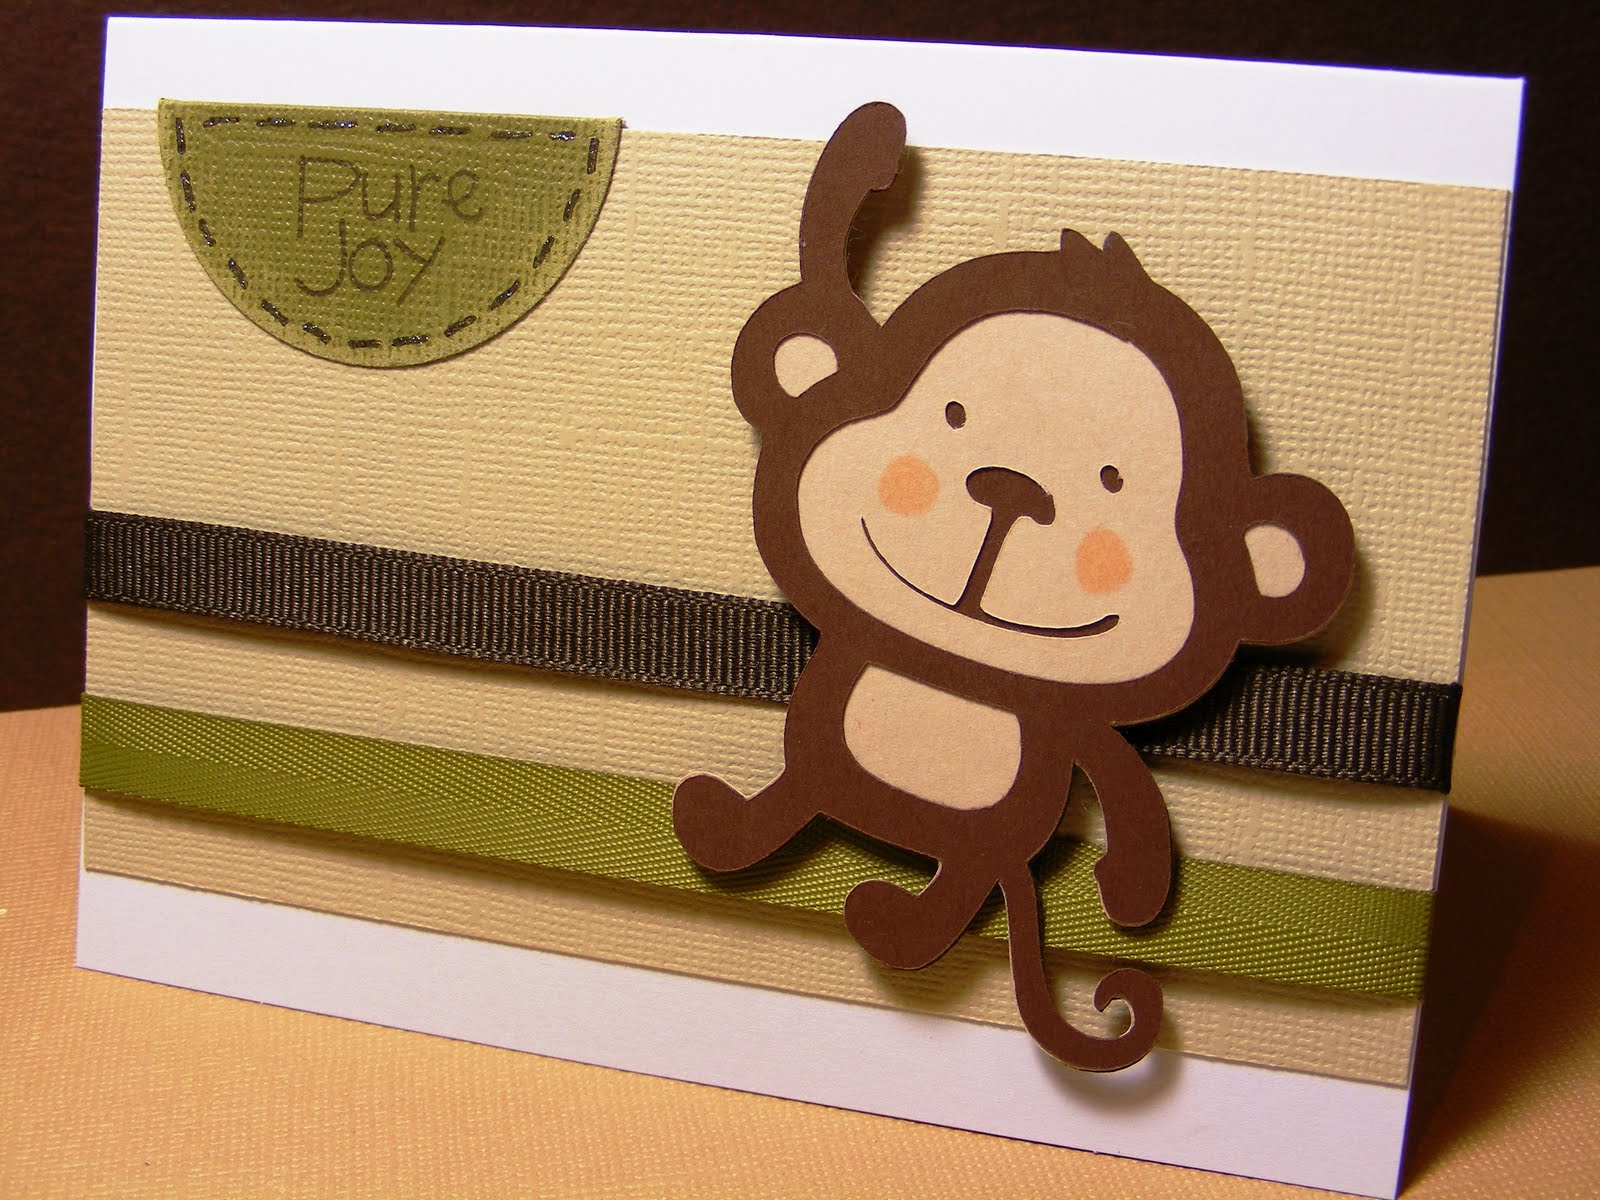
Today Close to my Heart came out with a new Idea Book. There are SO many new products in it. I went through all my Stamp Sets (16+) and realized that only 2 of them are in the New Idea Book.


I want to share with you today my favorite Paper Pack from this Book.
It is called Seaside. But there are so many things it can be used for besides Beach themed projects. I love the color pallet & prints they put together to create it.


Using this NEW Seaside Paper Pack I made a Baby Diaper. 
It could be used as an invitation, card, or announcement.


Supplies:
CTMH = Close to my Heart
Paper - Seaside Paper Pack (CTMH)
Cartridge - Artiste Cricut Cartrige (CTMH)
Ink - Desert Sand (CTMH)
Sponge - (CTMH) I cut it in 1/4ths and use 1 section to ink the edges of the paper
Pen - Marvy Uchida LePen Journaling Pen (CTMH)

Instructions:
Cut from the Artiste Cricut Cartridge the following cuts & sizes:
Diaper - size: 4"
              button 34, pg 64
              function - Card/Shift
Oval - size: 4" & 3 1/2"
           button 34, pg 64
           function - Card
Accent - size: 2"
              button 34, pg 64
              function - Accent 3
It's a BOY -  size: 1 1/2"
              button 34, pg 64
              function - Accent 1/shift

  • Ink around the edges with desert Sand Ink. I cut a 3" circle sponge into 1/4th's. Then use one of those sections and dab it onto the ink pad. Then rub it onto the edges of the paper where I want to distress it.
  • Then put dash marks on the "It's a BOY" with the journaling pen. Adhere it to the Accent piece. Then attach to the diaper with foam adhesive to give it some dimension.
To see the NEW Idea Book from Close to my Heart click HERE.
To see any product I used in this project click on the product name for the link.

I would love to help you with Close to my Heart Products and assist with any crafting needs or questions. Leave a comment below, send me an email, or check out my store: simplecreations.ctmh.com


Thursday, August 9, 2012

Baby Announcement

Baby Announcement Tag

No I am not pregnant.
I have a friend who is pregnant and having a photo shoot. So she asked me to make this tag. She will tie it around her tummy with a black ribbon. She doesn't know what she will be having so she wanted to keep it black and white.

Supplies and Instructions

Cricut Cartridges Used:
Cricut Craft Room Basics
Tag - Button #40 - cut 3 times
White(back) - w-4.21 x h-6.76
Black(center) - w-4.21 x h-6.76
White(front with letters cut out) - w-3.66 x h-6
Since there were alot of letters, I created this on my gypsy and used the background. Instead of glueing each letter, I just glued the centers of the letters. I also hid the circle in each tag, then punched one at the end.
Close to my Heart - Art Philosophy
DONT OPEN - cut .69"
until - cut .84"
Oct 2012 - cut .96"

I glued all the layers together then finished it off with a brad.

Thursday, April 14, 2011

Gift Bag & Card inspired by Baby Clothes

Gift Bag & Card
I have a baby shower this weekend. The set of clothing was so cute that I wanted to make a gift bag and card to match. So many times I look at the color combo's or patterns in kids clothes and think, "that would make such a great card." Well, I finally made something with clothing inspiration.

The Card was inspired by this Monkey bib.
The Gift Bag was inspired by the Lion onesie.


Monkey - Create A Critter Cricut Cartridge - 3"
Pure Joy Stamp - My Pink Stamper - Sweet Baby


Lion - Create A Critter Cricut Cartridge - 4"
Roar - Create A Critter Cricut Cartridge - 1 1/2"
A baby is a gift of love Stamp - My Pink Stamper - Sweet Baby
Sweet bundle of joy! Stamp - My Pink Stamper - Fabulous Phrases


Friday, February 11, 2011

My Pink Stamper Pink-alicious Blog Hop


To start at the beginning of the Pink-alicious Blog Hop start at mypinkstamper.com.
 If you are coming from Helen's blog then you are on track.
This month we made something using the color black, along with our favorite color. I also used My Pink Stamper's NEW Sweet Baby Stamp Set. This is an amazing stamp set if you need to make any project for baby's or kids. I have loved using them & have made so many projects already. 
To check out all My Pink Stamper stamps click HERE.


Supplies
Core'dinations Paper- Card Base is Black with Pink Core
Ribbon- Paper Studio
Border Punch- Martha Stewart
Cuttlebug- Swiss Dots Embossing Folder
Making Memories Sanding Block
Stazon Black Ink
Pen- Sakura White Gelly Roll Pen
Pink Flower Brads
My Pink Stamper Stamps- Sweet Baby
Pop Dots
Tissue Paper
ATG or tape adhesive
Stickles- Stardust

Cricut Cuts
Gypsy Wanderings
Decor Tag Function- button #1- 3"
Decor Tag Function- button #49- 2.25"
Mother's Day 2010
Baby Stroller- 2"


First, I started with the base card of 4.25" x 11". Then used the border punch along one bottom. Then embossed the dots with the cuttlebug. Stand the dots to show off the pink core. I love this paper because the outside is black and the inside is pink. Tie the ribbon into a bow around the card. Cut out the Cricut Cuts and embellish. For the accent of tissue paper I cut it as shown in the picture above.  Then I put 2 strips of my tape adhesive on it then began folding it randomly until it looked how I wanted. I hope you enjoyed this card and are inspired to create your own.


How about a Giveaway?
If you have followed my blog posts, you will know that I love my Gypsy. Soon I plan on doing a post about why the Gypsy is a MUST HAVE. In light of that I want to give away this Cherry Blossom Silicone Gypsy Cover. For a chance to win this, please leave a comment of why you think the gypsy is a MUST HAVE.  Of course I would love for you to follow my blog but that is not required.


Join us for this Challenge...
Make a project using the color Black and your favorite color. Link it at mypinkstamper.com to join in the fun.

Next Stop....
Hop on over to Tracy at Craft Junkie Too

Thank you for joining me for My Pink Stamper Pink-alicious Blog Hop.
Come back again soon for more Simple Creations.


Friday, August 13, 2010

Tag Journal & 1st birthday card

Tag Journal

I made both of these tag journal's for gifts. Once for a baby shower & the other for a 1st birthday.
The insides are the same but the covers are different.
I used paper from K&Company Lion Sleeps 12x12 Paper Pad
I bound it with 1" book rings


All the tags are white with brown ribbon stapled to it. I left them plain so they could put a picture or write something on it.

Here is the recipe for the tag journal.
Cricut Cartridges Used:
Tags, Bags, Boxes & More:
6 - Tag - 5.65"
6 - Folders- 11.35"
2 - Covers - 11.35"
This is the folder & on my gypsy I moved the half the of the folder off my mat that I didn't need. So I only cut half the folder to make a cover. If you don't have a gypsy just cut the folder out & then cut the part off that you need for the cover.

Baby Cover:
Cricut Cartridges Used:
Plantin SchoolBook:
Baby- 1.25"
I cut it regular & then with the shadow feature also.

Quinn Cover:
Cricut Cartridges Used:
Simply Sweet:
Quinn -1.25" Blocked & Blackout Features
Graphically Speaking:
Circle- 3.15"
To make a 1/2 circle I moved it on my gypsy 1/2 off the mat so it would cut it the way I wanted.


This is a card that I made to go with Quinn's Tag Journal.
Card Recipe:
Cricut Cartridges Used:
Graphically Speaking:
number 1 collage - 1.37"
Simply Sweet:
Gift Box - 2.18" Shift & Gift Box Shadow - 2.08" Shift Shadow
Alphalicious:
1 -  1.04" Short Stack Shadow Feature

I know there are alot of instructions for this project but it is alot of fun & a great gift. Once you make one then it becomes alot easier.