Showing posts with label Smiley Cards. Show all posts

Friday, February 10, 2012

Pink-alicious Blog Hop - Love Card

Welcome to the Pink-alicious Blog Hop.
If you are coming from Andrea's Blog then you are right on track. If not, then begin the hop at www.mypinkstamper.com
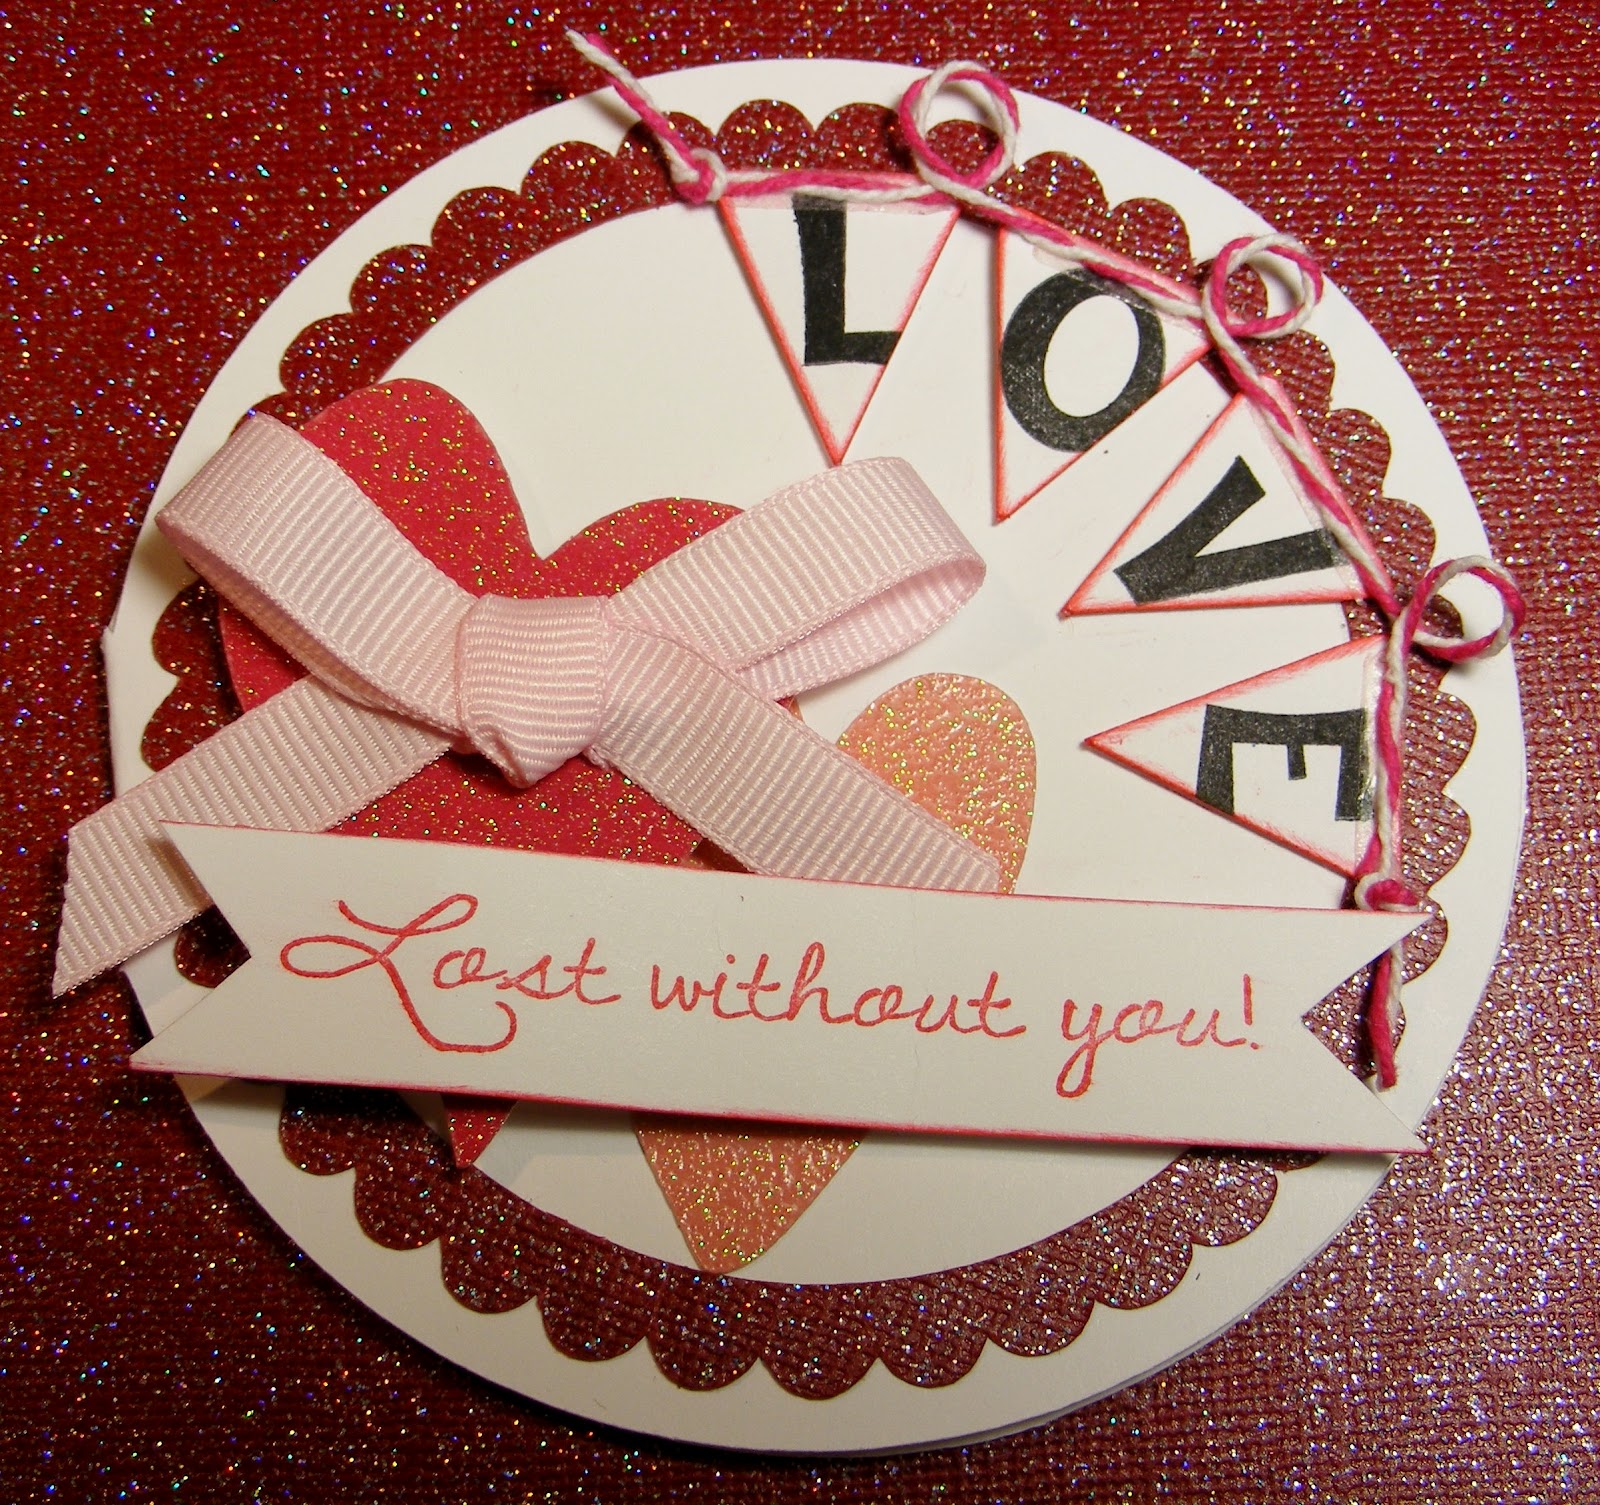

 For this challenge we were to make a card with a circle, the color red, a pink ribbon, and more than one My Pink Stamper Stamp. So I wanted to make a different type of card. I wanted to make it with alot of layers and dimention to bring it all together.


Instructions and Supplies
Card Base: Smiley Cards Cricut Cartridge - button #1, Card Function cut at 4"
Scallop Circle: Home Decor Cricut Cartridge - cut at 3.75" (real dial size)
I glued and taped the glitter paper to the Cricut Cutting Mat so it wouldn't move as it cut.
Hearts: w/2 slots for ribbon - cut at 2.25", solid - cut at 2"
Flags: Mothers Day 2010 Cricut Cartridge - cut at 1"


Other Supplies:
Color Box Pigment brush pad - Cranberry
twine
ribbon
glitter paper
foam squares

Your next place to hop and be inspired is Carissa.

Here is the Blog hop order in-case you get lost along the way.

Blog Hop List--February


Saturday, February 5, 2011

Simple Valentine Card

Simple Valentine Card


Cricut Cuts
Smiley Card
Card Base- button # 15 - width 7.5" x height 3"
Lyrical Letter
Heart- 3"
Love U- 3"

This is probably one of the most simplest cards I have ever made. It is easy to duplicate many and doesn't take much time. This would be a great Valentine for your kids. They would even love making them.

Monday, January 10, 2011

Winter Warmies FCCB Challenge #42

Winter Warmies FCCB Challenge #42
Use some type of winter clothing/accessory on the project. At first I wasn't sure what I wanted to make & then I thought of this cute little beaver with the scarf. Then I wanted to make a card using the Smiley Cards. So this is what I designed.


The card base is from Smiley Cards. The outside layer is cut at 3.5" & the inside layer is cut at 3.25". Then I cut the tab off the inside layer. The patterned background was cut with Plantin SchoolBook at 4". I am not sure what size the blue layer to write on was. The beaver was cut from Winter Frolic at 2". Then I inked it & made details with a glitter gel pen. The Sentiment is from PaperTrey Ink -Daily Designs Sentiments. I hope you enjoyed this unique card design.
Join us at the Fantabulous Cricut Challenge Blog (FCCB) and post your own Winter Warmie. Just include at least one Cricut cut & use some type of winter clothing or accessory on your project.