Showing posts with label Scrapbook Layout. Show all posts

Friday, November 11, 2011

My Pinkalicious Blog Hop - November Scrapbook Page


Pinkalicious Blog Hop - November
Love Scrapbook Page using My Pink Stamper's "From the Heart" Stamp Set.

Welcome to the Pinkalicious Blog Hop. This is where all the My Pink Stamper Designers get to show off our projects using My Pink Stamper High Quality Photo Polymer Stamps. This month we wanted to show you how to use stamps on Scrapbook Pages or Mini Albums. If you are just starting to Hop, then go back to the beginning at Robyn (My Pink Stamper). If you have hopped here from Renee (RockinRenee) then you are in the right place.


I love how all these papers came together. The Striped Pattern paper is from a Christmas Paper Pack. It's amazing how you can pull different papers together to make a great layout.


I used border punches from EK Sucess to create a story book feel & accented it with We R Memory Keepers - Blue Lagoon - Baker's Twine.


Love is Cut from:
Sweethearts Cricut Cartridge
Button #3 at 2 1/2"


This is a beautiful stamp. I love how elegant "love story" is. This stamp set includes four different sized heart stamps. Great for accents anywhere.


Another elegant stamp. I've learn it is very simple to incorporate stamps into everyday scrapbooking.

The Couple is cut from:
Sweethearts Cricut Cartridge
Button #4 at 4"
 
The Heart is cut from:
Sweethearts Cricut Cartridge
Button #4 using Shadow feature at 2 1/4"

Supplies
Cricut Cartridge: Sweethearts
Stripe Pattern Paper: O Christmas Tree Paper Pad by My Minds Eye
Blue & Green Paper: Glitz & Glam Paper Pad by Core'dinations
Burgundy Paper: Nostalgia Paper Pad by Core'dinations
Baker's Twine: Blue Lagoon by We R Memory Keepers
Border Punches: EK Sucess 

How about a GIVEAWAY?

I would like to give someone this notebook & pen. For a a chance to win, leave me a comment (only one comment per person, please). Tell me what your favorite Holiday tradition is. I will be picking a winner Monday. Also, please include a way to get ahold of you.

This notebook was made using My Pink Stamper's Sweetest Cupcake Stamp Set, Sweet Treats Cricut Cartridge, and PaperTrey Ink Paper.

Now continue Hopping to more amazing projects. Your next stop is Cristi.
If you get lost along the way, I included our hopping order below. When your finished go back to www.mypinkstamper.com to join us for this challenge.


Saturday, May 7, 2011

NSD Challenge #7 - Scrapbook Page

Join the National Scrapbooking Day Challenges at www.mypinkstamper.com


My daughter will be turning 4 this summer so I made a scrapbook page for her Birthday Party.

Recipe
Cupcake Cricut Lite Cartridge
Ariel - 1.25"
Straight From the Nest Cricut Cartridge
Party Hat - Button #36 - 5"
Banner - Button #38 - 2.5"
Gifts - Button #40 - 3"
Sweet Treats Cricut Cartridge
4 - 2.75"
Color Box Cat Eye Ink - Chestnut Roan
Pop Dots
Embroidery Floss
Cuttlebug - Swiss Dots Embossing Folder

You are so sweet...I could hug you! - Everyday Sentiments
Happy Birthday - Birthday Crazy (just released yesterday)
It's a...Birthday Party! - Birthday Crazy (just released yesterday)

Tuesday, March 22, 2011

My Pink Stamper Design Team Post - March

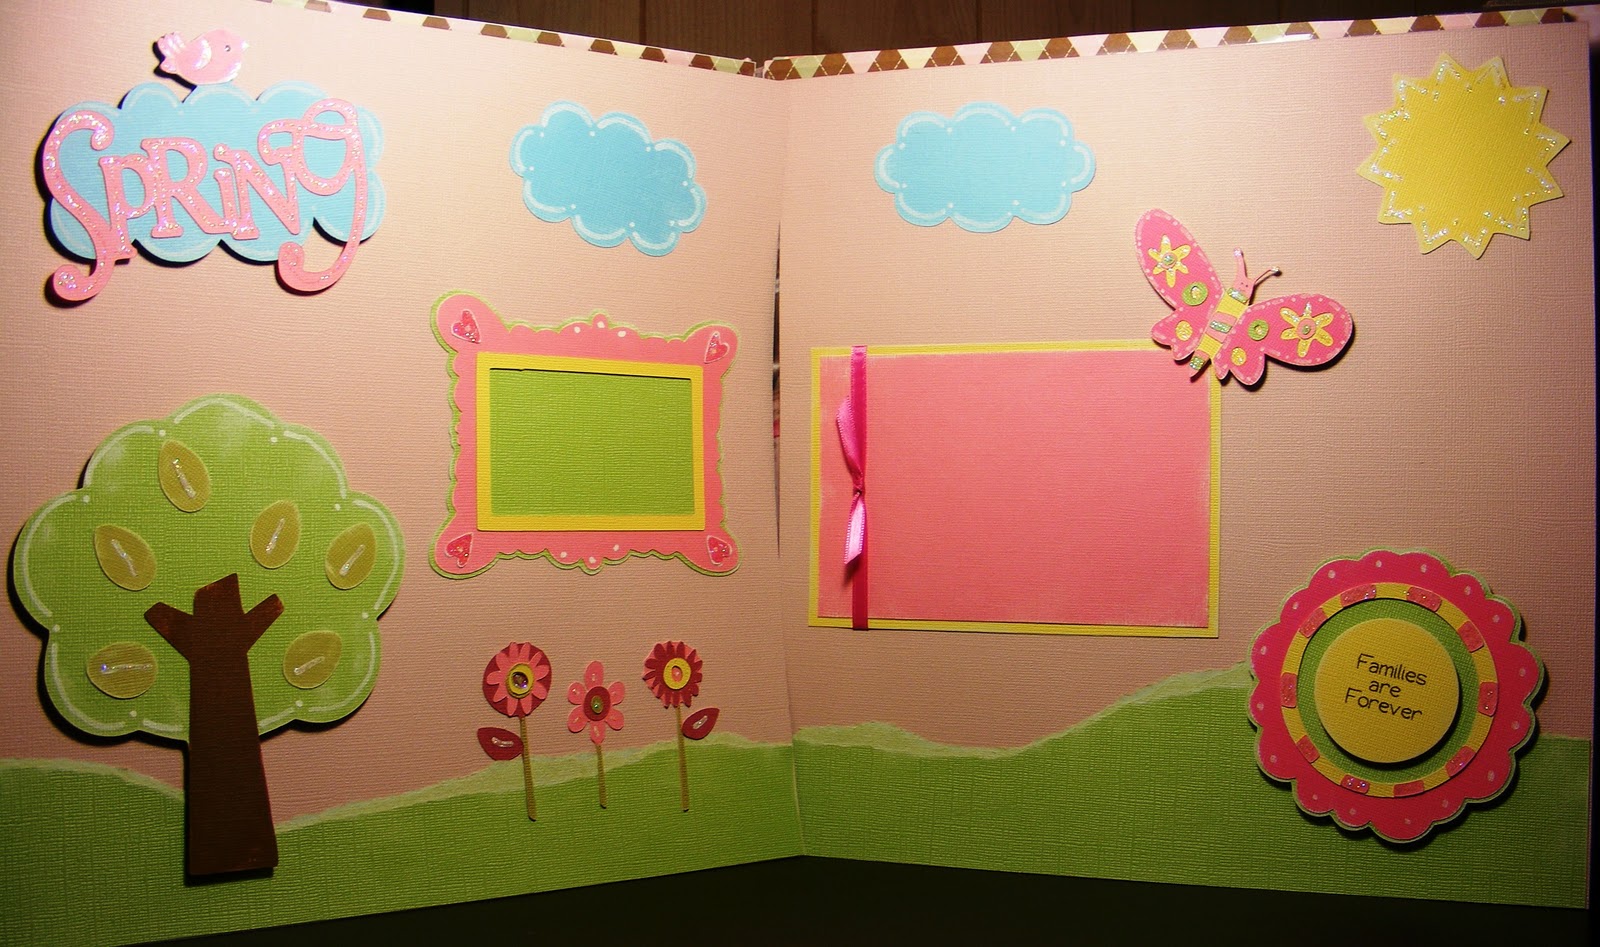
Spring Scrapbook Layout


This scrapbook layout was a lot of fun to make. I knew I wanted to make it fun and springy. I originally wanted to use bolder colors but these colors looked the best together. Sorry, I have a hard time taking pictures of 2 page layouts. If you have any tips on that, please leave me a comment. Most of the paper is Core'dinations. I love how well it cuts on the Cricut with the blade at 6 and the pressure at 6. I also love how you can sand or distress the Core'dination paper to see the different core color. They come in amazing colors, too. Ok, now that you know what my favorite paper is, I will get back to my layout.


 Cloud with Bird - Create A Critter - 3"
Spring - Gypsy Wanderings - 2.5"


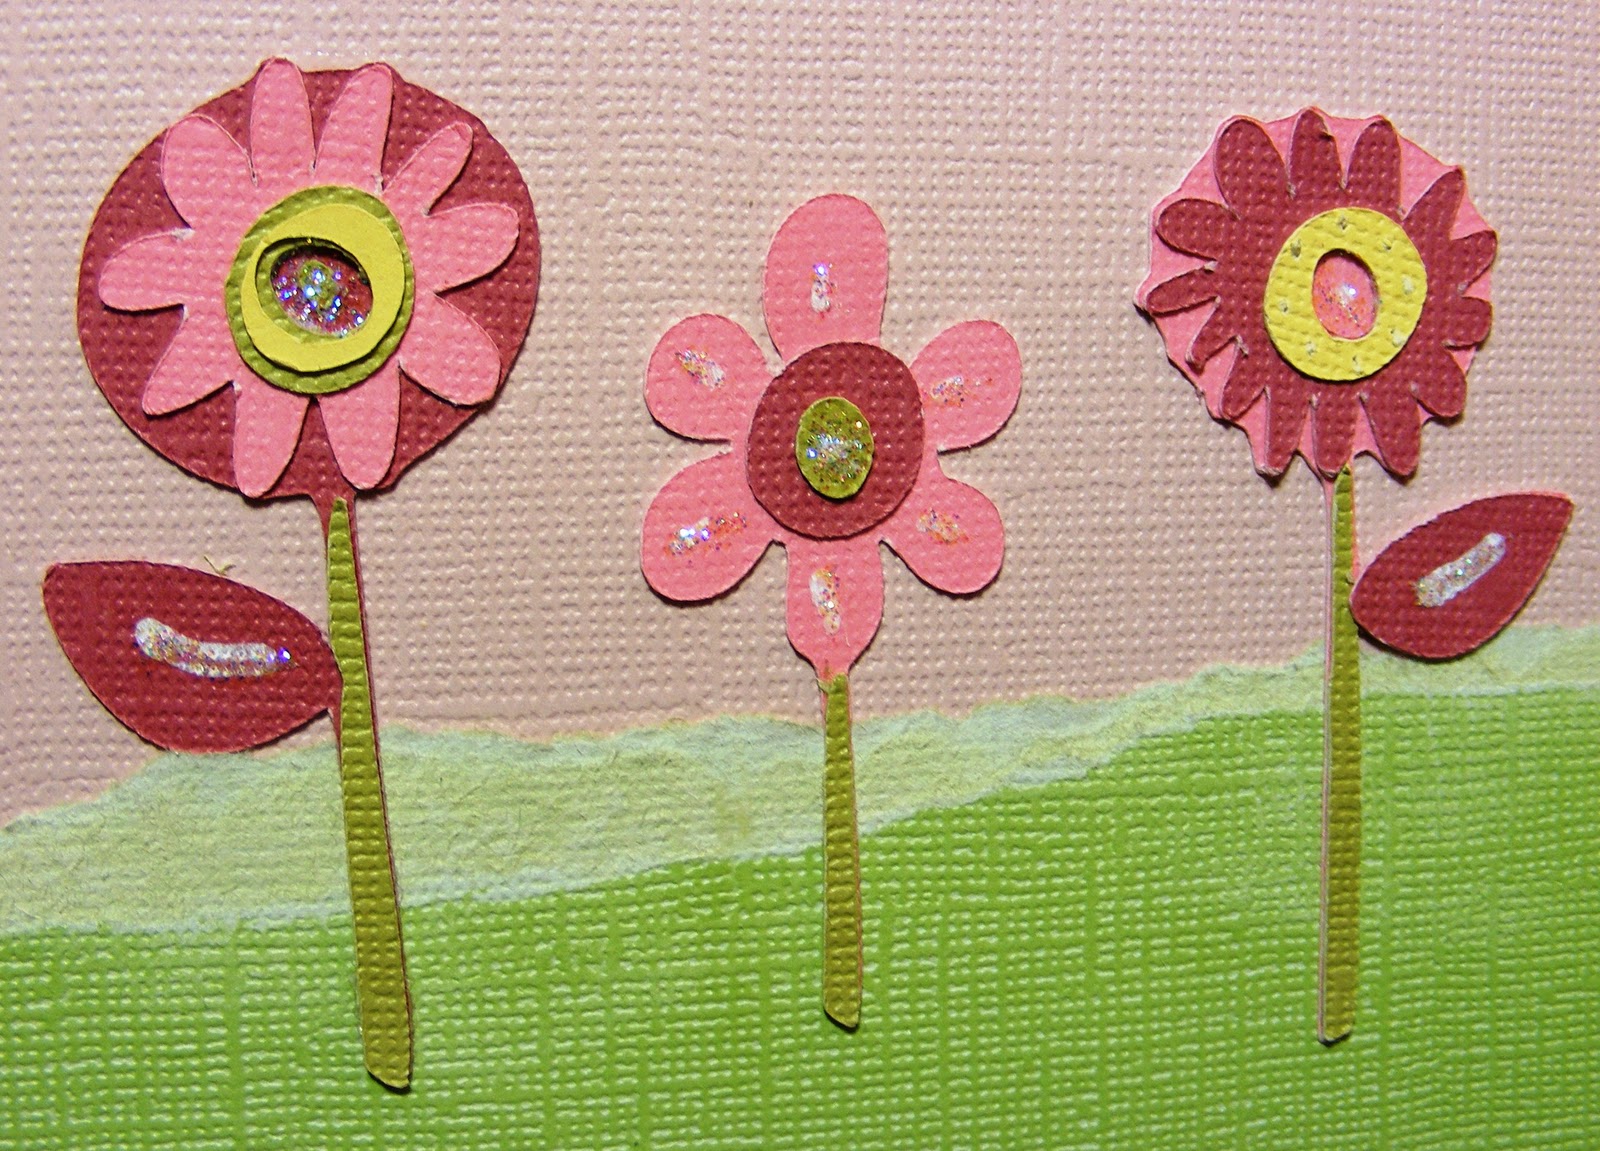
Flowers - Live Simply - 2.5"
These flowers had so many layers & I couldn't figure out how they were suppose to go. So this is my version of them.


 Flower Frame - Live Simply - 4"
Stamp - Familes are Forever - My Pink Stamper Everyday Life Stamp Set
Tip on putting this flower together: The dashes are a little difficult. I learned if I use the piece of paper that all the dashes were cut out of, I can lay it over the flower and know exactly where to put each dash mark. I even drew a line on paper where I started gluing the first dash mark. The reason this is a little more difficult is because the yellow circle is wider in some spots. So there are narrow and wide pink dashes. You also don't want to end up with extra space and have all your dashes glued down. But this flower is such a beautiful cut. Hope this tip makes since and is helpful.


 Butterfly - Live Simply - 2"


 Frame - Live Simply - 4"


 Tree - Simply Charmed - 6"


Sun - Create A Critter - 3"
Clouds - Create A Critter - 2"

Accented Layout with
Martha Stewart Opaque White Marker 
(it was a little transparent and wider than a pen, just the look I wanted)
Stickles - Star Dust

Thank you for visiting my Simple Creations. I hope you enjoyed my spring layout and are inspired to create. Visit Back Soon for more Simple Creations.

To see the rest of the design team's amazing layouts, go to mypinkstamper.com

Friday, March 11, 2011

My Pink Stamper Pink-alicious Blog Hop

Easter Layout

If you are just beginning this blog hop, please start at MyPinkStamper.com 
If you are coming from 
Edna's blog then you are in the right place.

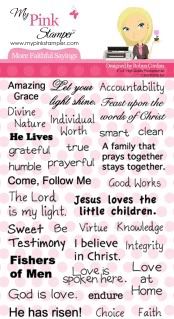
I made this Easter layout with Spring Colors and My Pink Stamper's More Faithful Sayings Stamps. I love how it turned out.

Grass was cut from Gypsy Wanderings Cricut Cartridge. Shift and it is button #42. Cut at 1.5". To create the solid grass piece across the bottom of the layout. I welded 6 grass sections together, on my gypsy, so they overlapped a little.

Basket from Doodlecharms Cricut Cartridge and cut at 2.50"
Eggs from Doodlecharms Cricut Cartridge. Large cut at 4" and Small cut at 2"
I used Glossy accents on the Eggs and Baskets. They are on pop dots so, when I applied the glossy accents the eggs curled up and made them more round like an egg.

Cute bunny!
From Create A Critter Ciruct Cartridge and cut at 2.50"

Easter was created on my Gypsy using the Alphalicious Cartridge Cricut Cartridge at 1.40". I welded the shadow letters together, angling them how I wanted to. Then I laid the normal letters over the top and lined them up just right over the shadow. Then welded the top layer together also. This made gluing them down much easier because the top layer was all one piece and the shadow was all one piece. Then I used Glossy Accents on the word to make it shinny.

I curved the stamp "He Lives" on my stamp block to stamp around this circle. The inside of the circle is a piece of Vellum that I scored lines in on my Martha Stewart Score Board to make guides to journal on. I love how it turning out. I chose to use Vellum here because I loved the patter paper and wanted it to show through.

I stamped several stamps from MPS - More Faithful Saying's Stamp Set. I lined up each side on a long acrylic block to stamp each side all at once. Then I layered it with brown paper and accented with pen stitches. Now they are ready for pictures.

Supplies Used
Pattern Paper - The Breathe Paper Collection from Prima (bought at Big Lots)
Alphalicious Cricut Cartridge
Create A Critter Cricut Cartridge
Doodlecharms Cricut Cartridge
Glossy Accents
Stazon Ink - Timber Brown
Sakura Gelly Roll White Pen 
Pop Dots

Hope you enjoyed my layout. I love all your comments and read everyone. Please come back again for more Simple Creations. I love sharing projects with you.

Next hop to:
Tracy—Craft Junkie Too
When you are finished return to My Pink Stamper to join in the fun.


Monday, January 24, 2011

Fantabulous Cricut Challenge #44

Neglected Cricut Cartridge
-use a Cricut Cartridge that you haven't used in over 6 months. Join us for the FCCB challenge HERE.

I haven't used my Graphically Speaking Cricut Cartridge in a while. When I first got it, I had to have it. I saw so many useful cuts on it. I think most of them are better for scrapbook layouts than cards.  I have been making so many cards and have neglected scrapbooking so therefore, neglected this cartridge.

This layout was a real challenge for me because I only wanted to use this one Cricut Cartridge on it. Then, I picked such a detailed cut that it took some patience to make it. The ABC frame had so many little pieces & then I chose to use the ABC background too, so that was twice the pieces.  So I hope you enjoy this project.


Cuts and Supplies Used:

Graphically Speaking Cricut Cartridge
Button #9- Icon & Icon Blackout- ABC frame 9"
Button #9- Type- Learn 1.5"
Button #33- Icon & Icon Blackout- 1+2=3  1"


All of the solid color papers are from Core'dinations. I love using them because they cut so well on the Cricut, even on all the detailed cuts. I set my Blade at 6 & my pressure at Max.

I used pop up dots to raise up the ABC frame and add dimension.  I added rustic twine and buttons from Paper Trey Ink where I had some empty space.

Since this layout could describe the Tons Of Fun that someone could have at school...I included that stamp from My Pink Stamper's More Punny-licious stamp set.

The ribbon was something I had. I am not sure who makes it.

I also embellished with a White Jelly Roll Pen, by adding dots around the paper, since there were dots on the ribbon too.