Showing posts with label Simply Charmed. Show all posts

Tuesday, September 20, 2011

My Pink Stamper Design Team Post - Halloween Bag

Here is a cute little goodie bag for all those yummy goodies.


Supplies and Instructions

Cricut Cartridges
Tags, Bags, Boxes & More: 
Bag - Button #35 - cut 9.25"
Tag - Button #8 - Regular & Shadow cut 2"
Simply Charmed:
Bat -Button #32 - cut 1.75"
Button & Twine - PaperTrey Ink
Ribbon
White Pen
Glossy Accents - on the spider
Crinkle Paper

Go to www.mypinkstamper.com to see the rest of the design teams amazing projects.


Friday, September 9, 2011

Pinkalicious Blog Hop - School Album

First Day of School - Album

Welcome to the Pinkalicious Blog Hop. This is where all the My Pink Stamper Designers get to show off our projects using My Pink Stamper High Quality Photo Polymer Stamps. If you are just starting to Hop, then go back to the beginning at Robyn (My Pink Stamper). If you have Hopped here from Alex (You Had Me At Craft) then you are in the right place.

We were challenged to make a 3D project using the Cricut and My Pink Stamper's School Day's Stamp Set.

My oldest daughter starts Preschool next week. So I wanted to make a Mini Album with pictures from her 1st day of school. Mini Albums are fun because they are Quick & Simple. To make the base of the 6"x6" Album, I used 2 sheets of 12"x12" black cardstock. Cut each sheet in half. That gives you 4 - 6"x12" pages. Then score each page at 6". Fold all the pages in half on the score line. Then overlap the pages and adhere them together. Then you will have an accordion style album that can sit up on a table to show off the beautiful pictures.


 The whole album

Backpack - Doodlecharms Cricut Cartridge - Button #38 - cut 2.5"

Apple - Doodlecharms Cricut Cartridge - Button #37 - cut 2"
Ariel - handwritten by my 4 year old


Scissors - Simply Charmed Cricut Cartridge - Shift Button #27 - cut 2.75"


Pictures of it standing up

Finding a nice paper line with great patterns and colors, definitely makes making an album easy. I used We R Memory Keepers - White Out Collection - Nonsense - 12 x 12 Double Sided Paper. I love how this album turned out and I can't wait to take the pictures and put them in.

Thank you for checking out my project and I hope I inspired you with this Simple Creation. The next stop on the Hop is 
Renee (RockinRenee). If you lose your place along the way, see the Blog Hop Order is below.


Blog Hop Order


Friday, June 10, 2011

Pinkalicious Blog Hop

Summer Happy Birthday Card


Welcome to the Pinkalicous blog hop. This is the last month of our design team's term. I have had so much fun getting to know so many of you crafters. This has truly been such a great experience and it was such an honor to be on My Pink Stamper's design team. Look for many more MPS projects this month.

If you are coming from Julie-readysetstamp, then you are right on track. If not, then you can begin the Blog Hop at www.mypinkstamper.com.

This Happy Birthday Stamp comes from My Pink Stamper's Sweetest Cupcakes Stamp Set. It is such a cute stamp set. To see all of Robyn's amazing stamp sets, click HERE.


This card had a lot of layers. I layed it out on my gypsy so I knew exactly how large each cut would be and so I could put the exact about of paper on the mat. It takes some practice but each square equals an inch on the mat, so the more you work with it, the easier it gets.


I actually cut a clear piece of packaging from something for a top layer on the cup. I adhered it with vellum adhesive.

Supplies & Instructions
Simply Charmed Cricut Cartridge button #21
Lemonade - 3.5"
Lemon - 2"
The Glitter Stack - DCWV - Pattern Paper
Core'dination Paper - Plain Paper
Brads

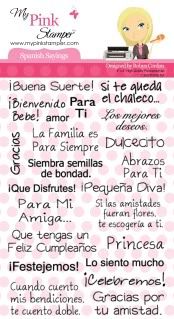
To celebrate all the fun we have had, I want to give away a My Pink Stamper Spanish Sayings Stamp Set. For a chance to win, leave only one comment and tell me what your favorite type of project is to make.


Join us for this challenge after the blog hop at www.mypinkstamper.com. Make any type of project with a Summer Theme.

From here hop to Kassidy at inkingitupcrazy for more Pinkalicous fun.

I am excited that CHA is coming up in July. I will be helping at My Pink Stamper & Tammy Skinner's booth on Saturday, July 23rd. I would love to meet you if you are there. So stop by and say Hi to us. CHA is my favorite crafting event of the year. To see so many people to enjoy crafting like I do and ALL the crafting supplies in one location, is amazing!

Angela's Simple Creations

Tuesday, April 5, 2011

Notebook with Pen

I love making Post-It note holders with pens and I never thought to make notebook covers until I saw a post that by blogging friend, Marianne from, Paper or Frabric Crafter. These notebooks are the magnetic one's you can find in the dollar sections. I decorated the outsides to go with the theme of the paper. The notebooks can be different sizes but these are the cover instructions for these. I usually make the cover with a heavy card stock, like Papertrey Ink, so that it is durable.
Notebook size: 3 1/2" x 7 1/2"
Cover size: 7 5/8" x 8 3/8"
Score cover at: 3 5/8",  4",  4 3/8",  4 3/4"
Cut middle section about 1" apart to hold pen.
When using mini pens like these the score marks are 3/8" apart. Knowing that helps alter  the measurements for other size notebooks.

 Simply Charmed Cricut Cartridge
Notes: 1"
Paper: 3.25"
Pencil: 3"


Live Simply Cricut Lite Cartridge
Flower: 2"
Stamp: Papertrey Ink - Daily Designs Sentiments


 Doodlecharms Cricut Cartridge
Apple: 2.5"
Cuttlebug Embossing Folder

COMING SOON...
I filmed a video today of a Notebook with a normal size pen and a 4x6" Sketch Pad. It also has a Lori Boyd digi stamp that I colored with Copic Markers. So check back soon to see that.

Friday night at 8pm is the Pinkalicious Blog Hop. It will start at mypinkstamper.com then hop through all the the My Pink Stamper's design team. I have an fun project to share with you then. So keep checking back for more Simple Creations.

Tuesday, February 22, 2011

My Pink Stamper Design Team Post

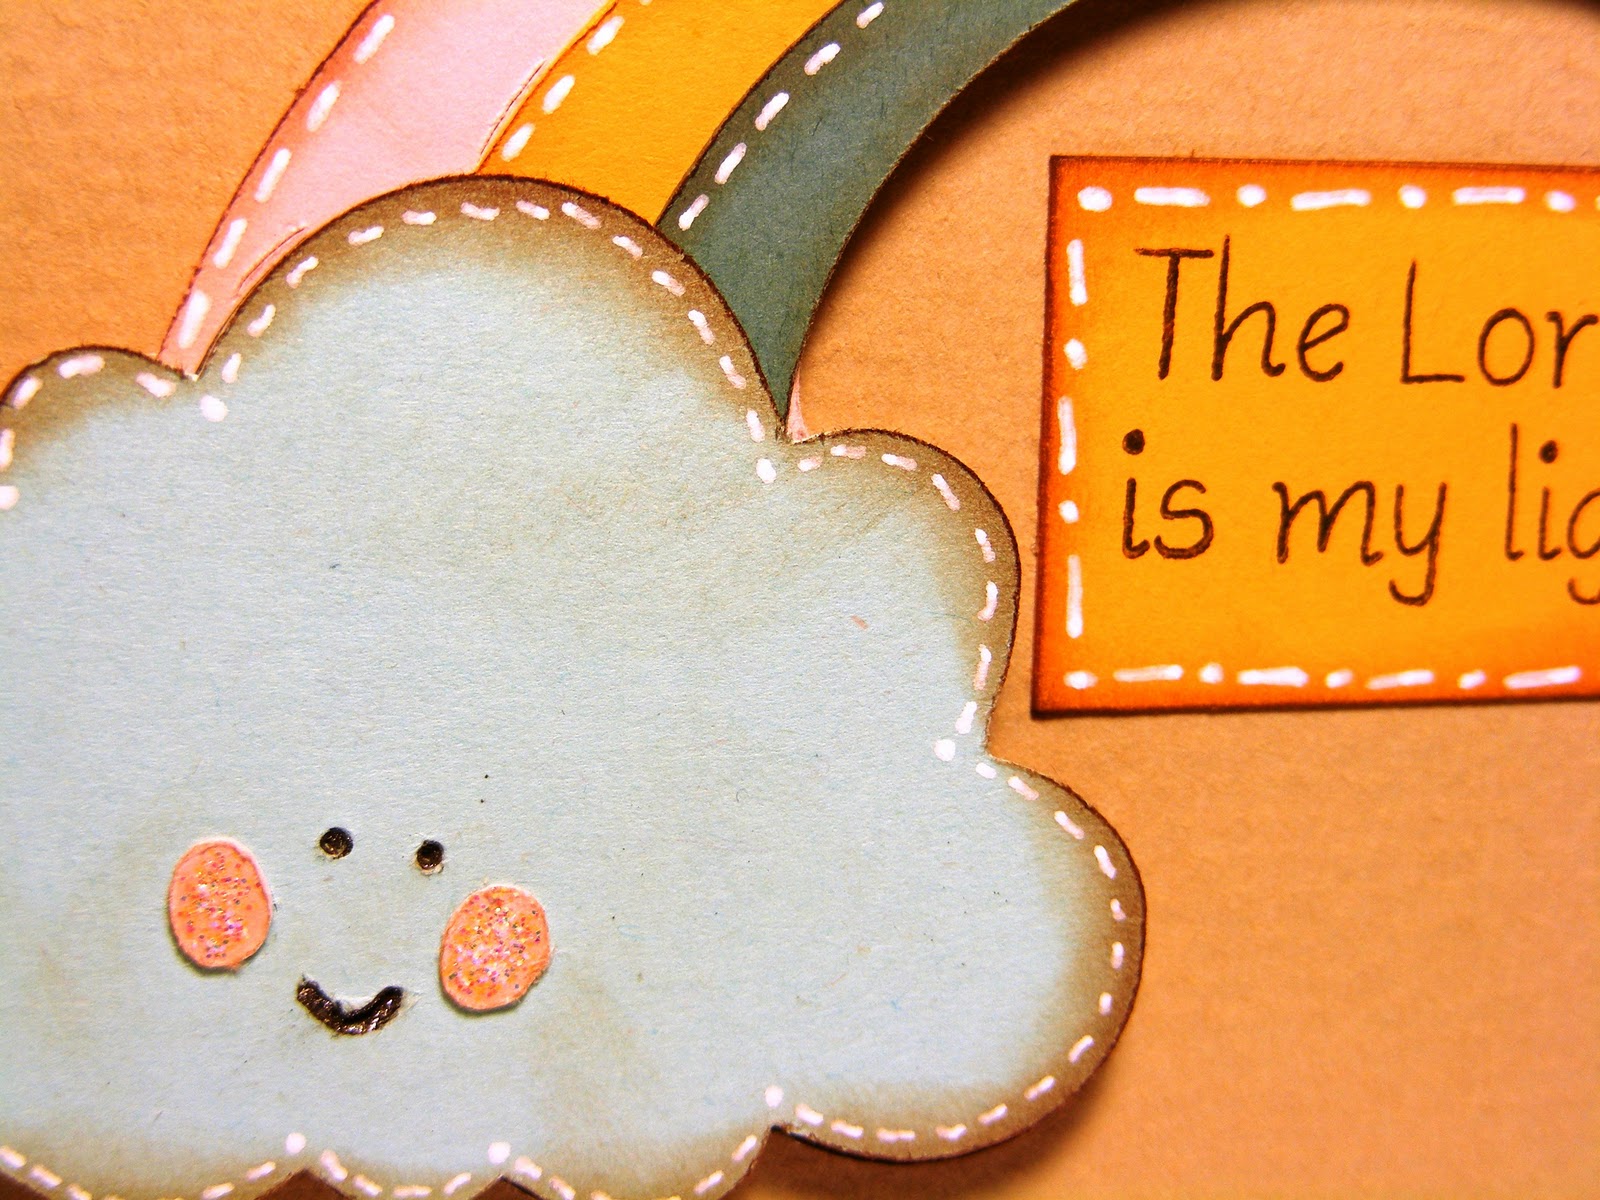
 The Lord is my light.

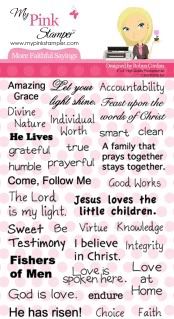
This project was to use one of Robyn (My Pink Stamper's) new stamp sets. I chose More Faithful Sayings. You can view all the MPS products HERE.

Supplies Used
Stamp- My Pink Stamper - More Faithful Sayings
Most of the Paper- PaperTrey Ink
Simply Charmed Cricut Cartridge - Button #42 - cut 3"
Inked edges - Color Box Chalk Ink - Chestnut Roan
Pen - Sakura Jelly Roll Pen
Stickles
Pop Dots