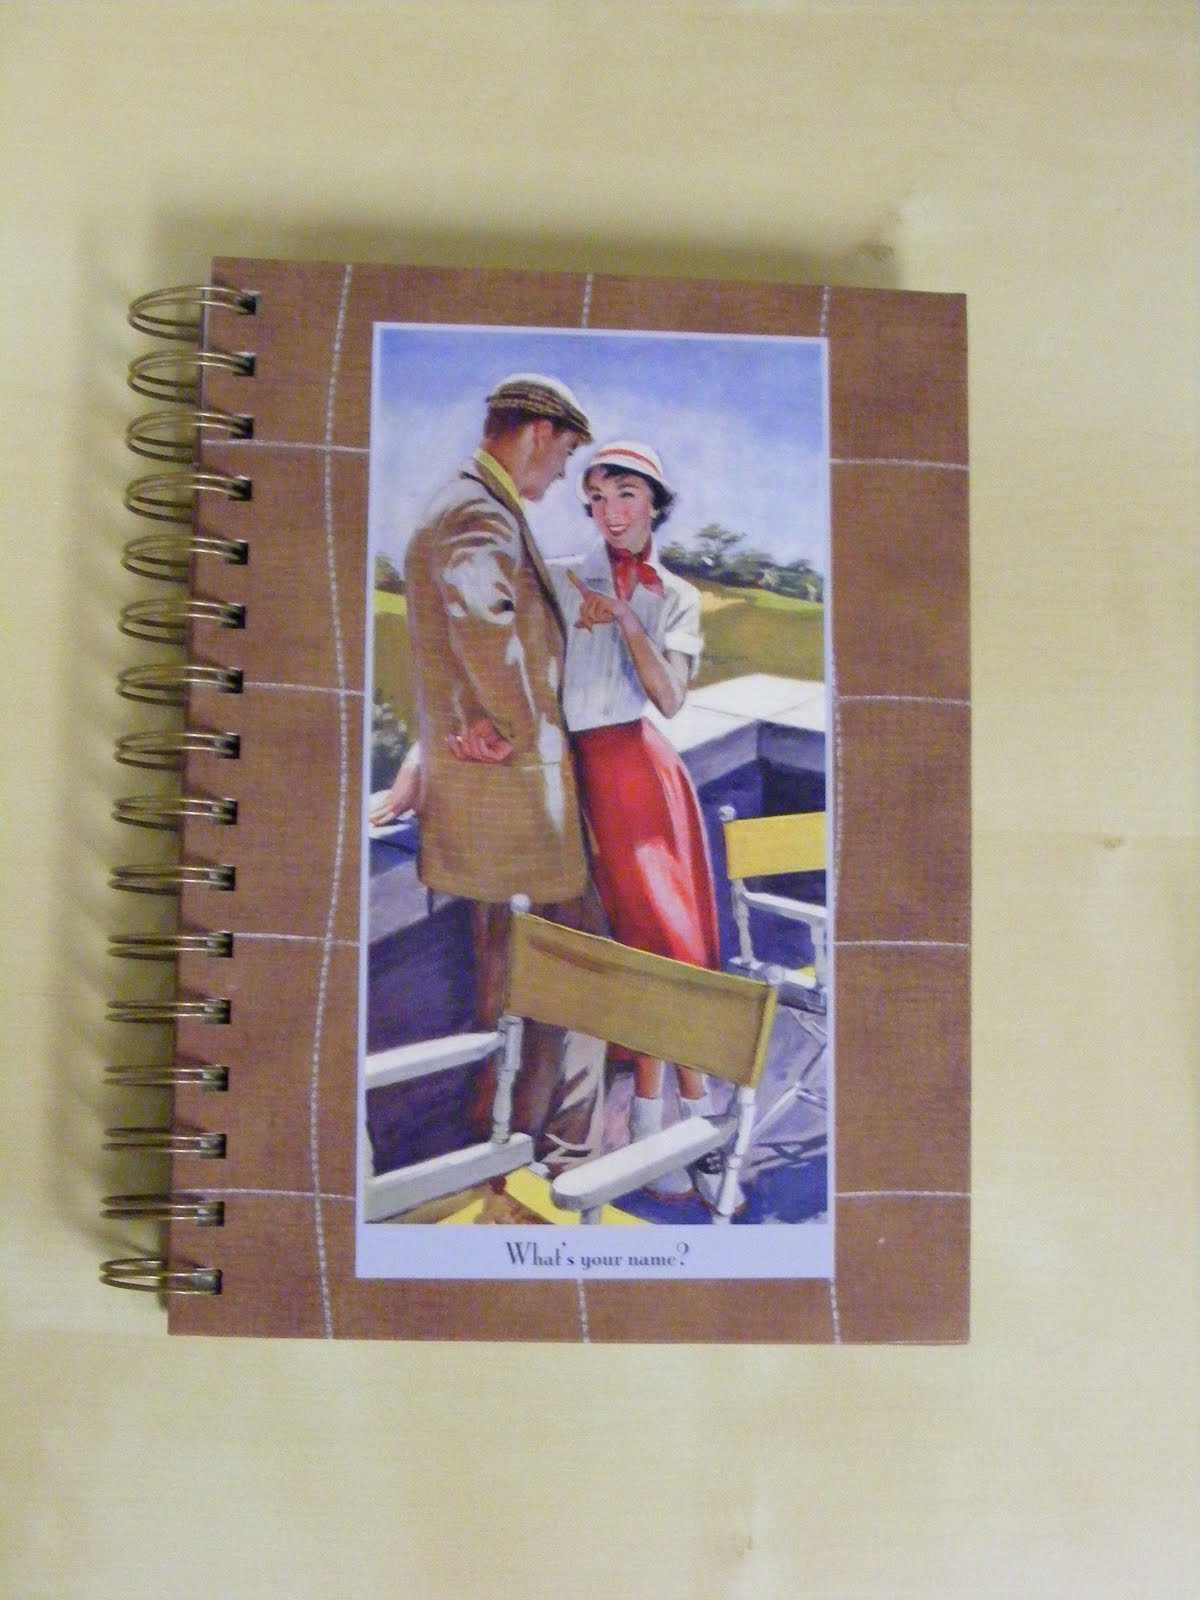
Showing posts with label Journal. Show all posts

Friday, January 13, 2012

Pinkalicious Blog Hop

Welcome to the My Pink Stamper Pink-alicious Blog Hop. This is where we hop from each of the designers blogs to see everyone's great projects using the Cricut and My Pink Stamper Stamps.

If you are coming here from Renee (RockinRenee) then you are right on track. If not, then go to the beginning, Robyn (My Pink Stamper) 

For Christmas I got a Cricut Imagine. I've had a little time to play around with it. So I want to share a project with you that I made using the Cricut Imagine. 
This month we were challenged to create something for myself or someone else that would give them a fresh clean start. So I created a journal that I can jot down important things from my personal time with God. Our church is doing a 21 day fast in January, so I thought this would be the perfect project I could make to help with a fresh start to 2012.


The label shape was cut from the shapes on the Cricut Imagine. I filled it with a pattern on pg 42 of the Imagine More Cartridge. Then cut it at 1.5". My Imagine wasn't calibrated so it cut the paper alittle off. So to fix it I inked the edges of the label with Charcoal Color Box Inkpad. Then I stamped the hearts and You're my love story on the label. Those stamps are from My Pink Stamper's - From the Heart stamp set.


To cut the pages that looks like lined paper, I used just one of the layers from an image on pg17 of the Imagine More Cartridge. 2 pages would fit on each 12x12 sheet of paper I printed. I cut them at 5"


I stamped sentiments from My Pink Stamper's - More Faithful Saying stamp set on each page of the journal using Old Paper - Tim Holtz Distress Ink, so it would be faint.

The border was cut from pg 26 of the Imagine More Cartridge at 1.7" Then I stitched the diagonal stitches using the We R Memory Keepers - Sew Easy - Zigzag roller. Then sewed the Bakers Twine Tertiary fancy floss from We R Memory Keepers. Finally I stamped Thinking of you today! on the border. That stamp is from My Pink Stamper's Fabulous Phrases stamp set.

For the covers I cut paper close to the size of the inside pages and rounded the corners. I stapled the covers and pages together with a stapler and then adhered the border to the cover to hid the staples.


I'm having so much fun with my Cricut Imagine. It takes plain Cricut cuts to the next level by printing the patterns in it. Its also nice to combine all the layers and print them together. Many of the images from the Imagine More Cartridge will be great to use in my Smash book, in the future. The possibilities are endless.

Summary of Supplies & Instructions:
Cricut Imagine Machine

Cricut Cartridge: Imagine More
label: shape from the imagine, filled with pattern on pg 42, cut 1.5"
border: pg 26, cut 1.7"
paper pages: just 1 of the layers on pg 17, cut 5"

My Pink Stamper Stamp Sets: From the Heart, Fabulous Phrases, More Faithful Sayings

Ink: Old Paper - Tim Holtz Distress Ink, Timber Brown - Stazon Ink, Charcoal - Color Box Chalk Ink
We R Memory Keepers: Sew Easy Tool, Zigzag roller, Bakers Twine Tertiary fancy floss

To Purchase or see all of My Pink Stamper Stamps click HERE.

For more My Pink Stamper fun hop to the amazing:

 If you get lost along the way here is our hopping order.
Don't forget to finish up at Robyn (My Pink Stamper)  to join in the fun.


Blog Hop Order


Friday, August 13, 2010

Tag Journal & 1st birthday card

Tag Journal

I made both of these tag journal's for gifts. Once for a baby shower & the other for a 1st birthday.
The insides are the same but the covers are different.
I used paper from K&Company Lion Sleeps 12x12 Paper Pad
I bound it with 1" book rings


All the tags are white with brown ribbon stapled to it. I left them plain so they could put a picture or write something on it.

Here is the recipe for the tag journal.
Cricut Cartridges Used:
Tags, Bags, Boxes & More:
6 - Tag - 5.65"
6 - Folders- 11.35"
2 - Covers - 11.35"
This is the folder & on my gypsy I moved the half the of the folder off my mat that I didn't need. So I only cut half the folder to make a cover. If you don't have a gypsy just cut the folder out & then cut the part off that you need for the cover.

Baby Cover:
Cricut Cartridges Used:
Plantin SchoolBook:
Baby- 1.25"
I cut it regular & then with the shadow feature also.

Quinn Cover:
Cricut Cartridges Used:
Simply Sweet:
Quinn -1.25" Blocked & Blackout Features
Graphically Speaking:
Circle- 3.15"
To make a 1/2 circle I moved it on my gypsy 1/2 off the mat so it would cut it the way I wanted.


This is a card that I made to go with Quinn's Tag Journal.
Card Recipe:
Cricut Cartridges Used:
Graphically Speaking:
number 1 collage - 1.37"
Simply Sweet:
Gift Box - 2.18" Shift & Gift Box Shadow - 2.08" Shift Shadow
Alphalicious:
1 -  1.04" Short Stack Shadow Feature

I know there are alot of instructions for this project but it is alot of fun & a great gift. Once you make one then it becomes alot easier.

Tuesday, June 29, 2010

Graduation Journal

I am working on some Graduation Gifts. There are personalized journals, that they can right down their dreams, goals for their future & also what God does in their lives' along the way. This is the 2nd one I made & I love how it turned out.


I bought $3 journals from Big Lots. This is what I started with.


I pried open the binding with my hands & took the covers off.


This is what my finished covers looked like. I painted the spine part of the cover where the holes are.  I sanded it some first so the paint would stick better. Then I cut the cover card stock about 1" larger than the cover on 3 sides. Then I notched out the corners by cutting up to the corner from each edge. Then I cut little slivers off those cuts. That helps it fold & lay nicely. I used a foam brush & put Mod Podge on the cover then placed my card stock on it. Then I turned the cover over & put Mod Podge where the cover would fold over to the inside & pressed it all down smooth. Then I cut the inside piece about 1/8" short on 3 sides & put Mod Podge on the cover & then adhered the inside piece down. After that I cut out & adhered the bird, name, and believe. I also stickled the word believe so it would stand out better. Make sure it is completely dry before brushing Mod Podge smoothly over all the cover. It dries clear but you will still see any brush strokes so I try to brush it all in the same direction & make it look nice. Repeat all the steps for the back cover but don't embellish. On this journal I ran out of paper, so the inside of the back cover was too small so I made a folder out of another scrap piece I had. Another mess up I fixed was where the flower is on the inside of the back cover. Some of the paper riped when I was applying Mod Podge so I cut out the flower from the patterned paper & covered it with it. So make your mistakes into works of art.


After all of it dries put the covers back in the binding & gently pinch the binding back together.


Here is the graduation card I designed to go along with the journal.