
Welcome to this months post, where My Pink Stamper's design team was challenged to use as many stamps as we could. I had so much fun with this challenge. I definitely used alot of stamps. Since there are so many techniques and details in this project I included a quick video and alot of pictures to show you what I did.
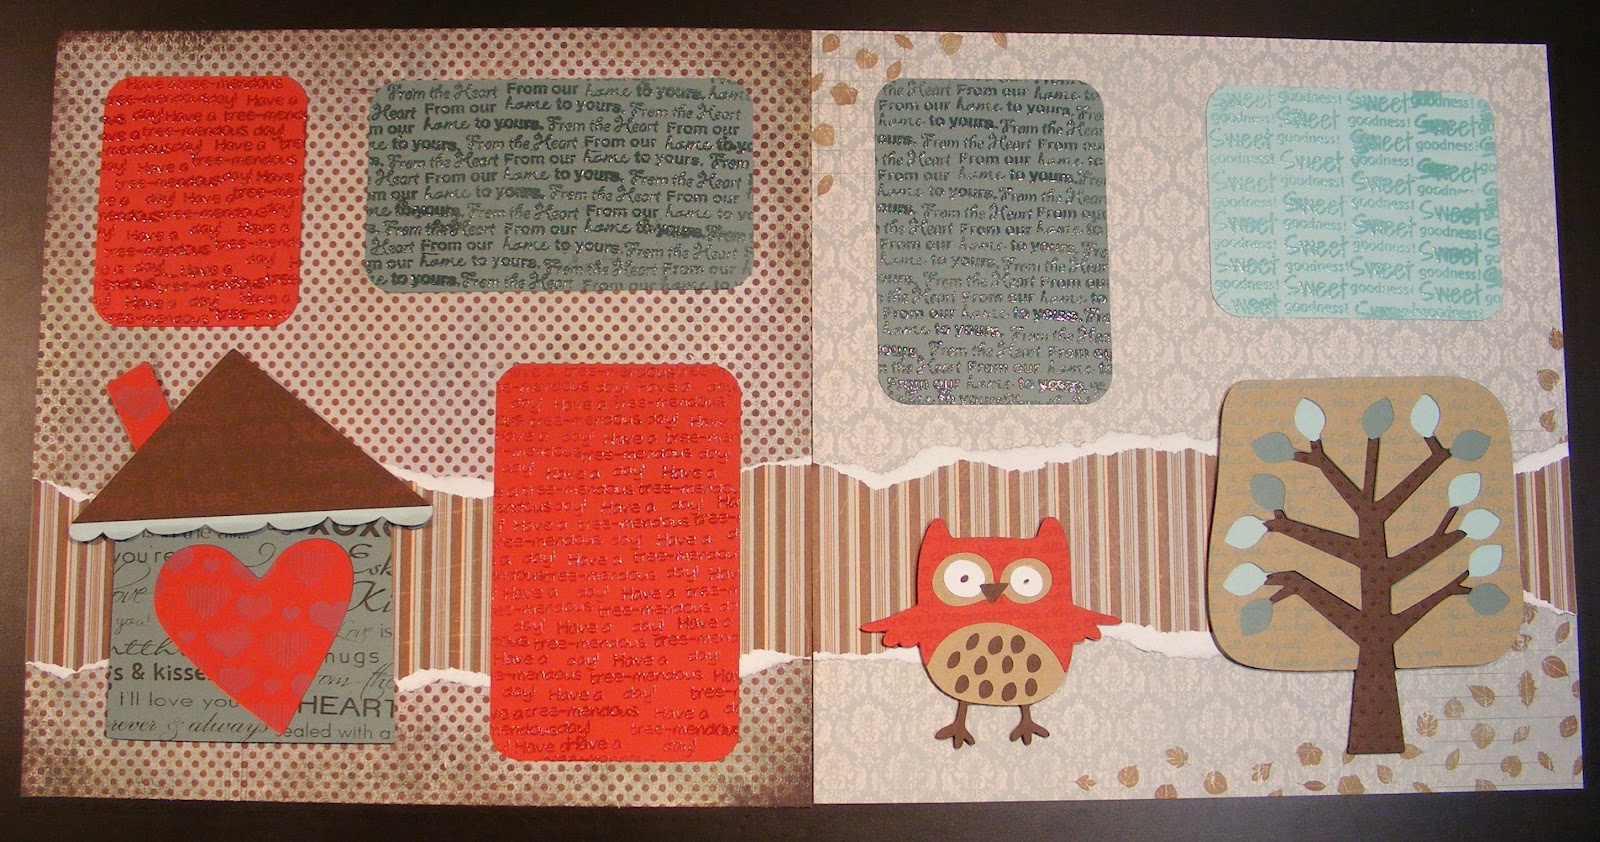
When you are finished seeing my Layout, go to www.mypinkstamper.com to see all the design teams amazing projects and how they used many stamps on them.
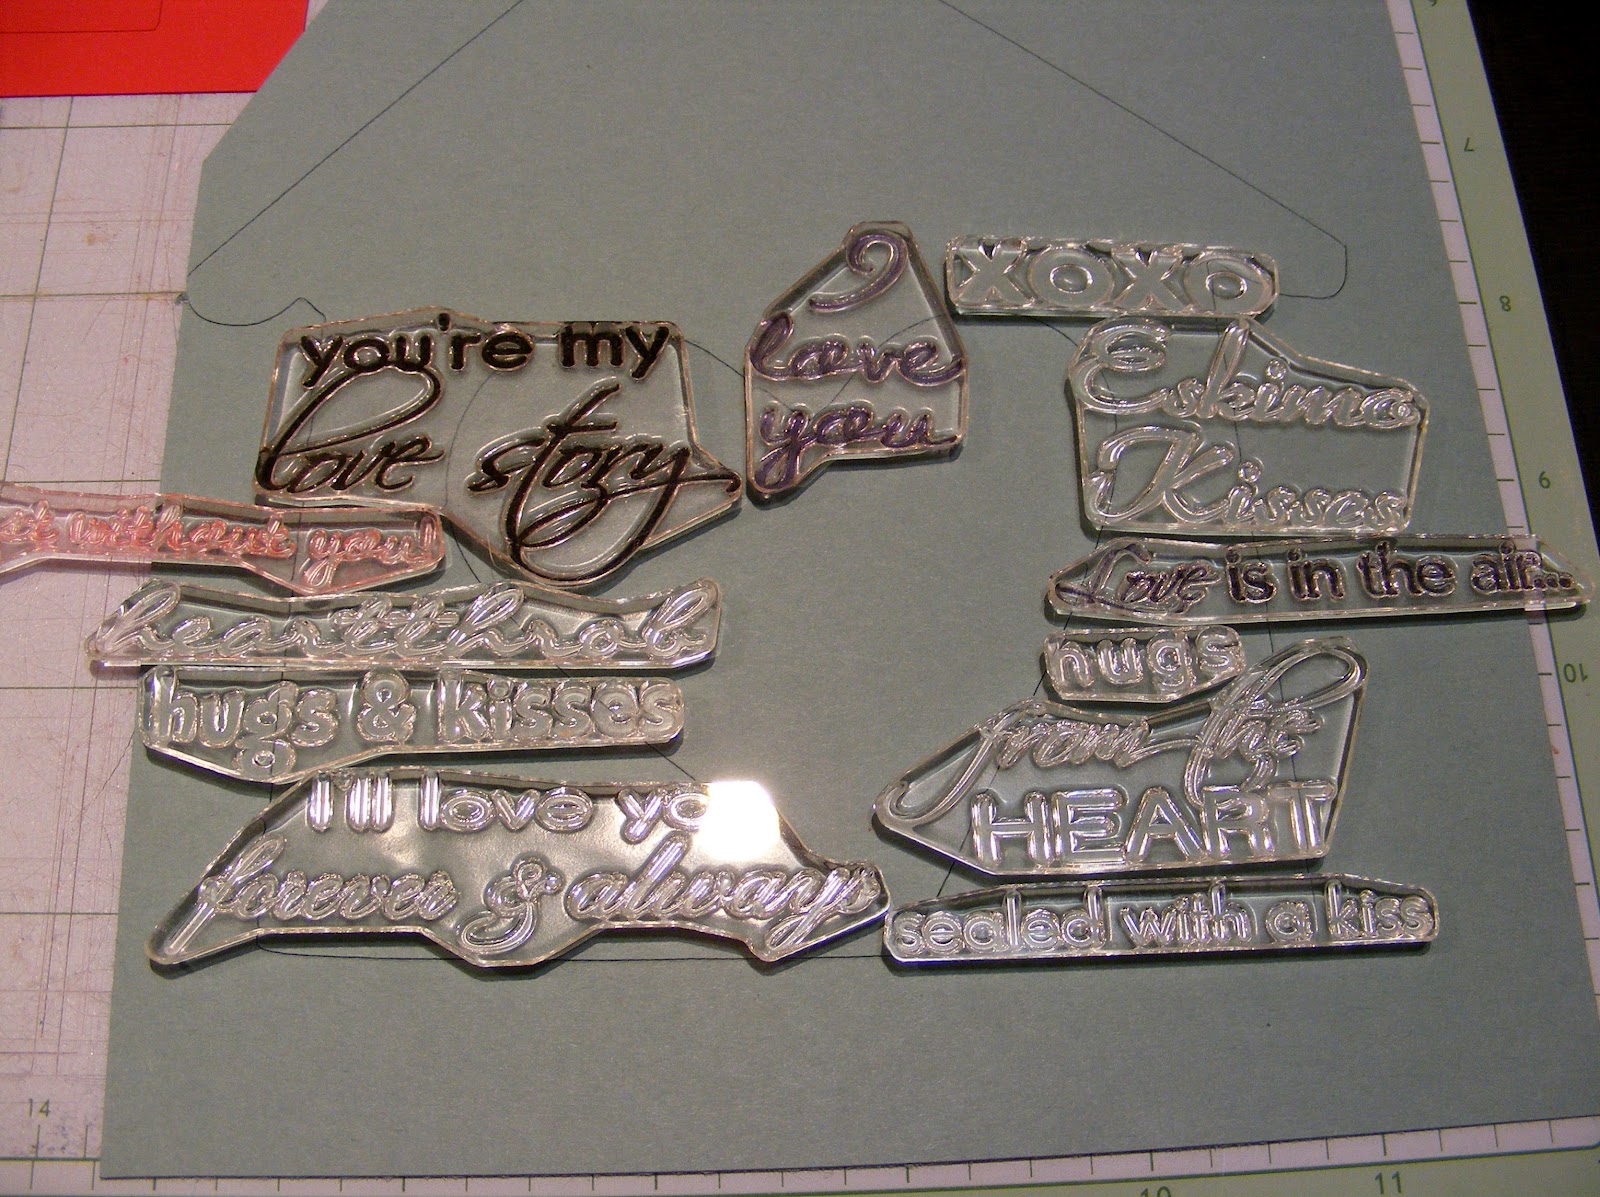
This is how I layed out my the stamps. Then I put an acrylic stamping block on it. Inked it up and stamped it. I stamped it while the cut was still on my Cricut cutting mat since the stamps went over the edges.

I used just 1 stamp over and over on the tree. It looks like a scripted pattern paper.

I embossed the center of the tree base with the Cuttlebug Swiss Dots Embossing Folder. Only the center part of the tree showed so its ok that the folder is small.

All the plain paper is by PaperTrey Ink. It is very thick and great quality. I love how it created such a dimensional tree because of all the thick layers.

On the owl I used one stamp over and over with Versa Mark watermark ink. I didn't use any embossing powder on it but left it looking watermarked.

All of these cuts were from the Hoot 'n' Holler Cricut Cartridge. It was a new cartridge that I hadn't used yet, so I picked it just for this project. I love how fun these cuts are.

This is how the red paper looked before(bottom) and after(top) I heat embossed it.


Supplies & Instructions
My Pink Stamper Stamp Set used on each of the following...
From the Heart
House
More Punny-licious
Owl & Red Paper
Yummy-licious
Tree, Dark Blue, and Light Blue
To order your own My Pink Stamper Stamps, click HERE.
Cricut Cartridge
Hoot 'n' Holler
House - button #4 cut at 6"
Tree - button #9 cut at 5.75"
Owl - button #45 cut at 3.5"
Paper
Solid Paper - PaperTrey Ink
Patter Paper - Dream Street Paper
(Stripes) Sam-Rock On
(Damask w/ leaves) Sam - Change is Good
Basic Gray - (Poka Dots) archaic/ancient
When you are finished seeing my Layout, go to www.mypinkstamper.com to see all the design teams amazing projects and how they used many stamps on them.


.JPG)
.JPG)
.JPG)
.JPG)
