Showing posts with label Plantin SchoolBook. Show all posts

Wednesday, August 17, 2011

Back to School Projects

I want to welcome all my new followers to Simple Creations. I read every single sweet comment that you leave me. I love to create Cards, Scrapbook Pages, & Mixed Media with the my Cricut, Stamps, & Copic Markers. I share all the details of how I make the projects so you can make them yourself. I love inspiring others. All I ask is that if I inspire you please credit me for the original design & link my blog to your post. It's only fair to say where you saw the project first.

Today I want to share some special Back to School Projects that Provo Craft sent me to share with you. They are super cute & fun to make. Scroll down for all the instructions.

Say Thanks Card

Free-To-Rock Pencil Holder

Personalized Notebook


Say Thanks Card

Instructions:

1. Using paper cutter, cut kraft cardstock down to an A2 size (4 1⁄4” x 11”) and score to make card base

2. Using paper cutter, cut yellow patterned paper at 4" x 5 1⁄4" and the schooled themed pattern paper at 3 3⁄4 x 5" and adhere together.

3. Tie black ribbon around adhered sheets slightly right of center.

4. Using Recess cartridge and aqua patterned paper cut pinked circle (ribbon-s) at 5".

5. Using Cricut Essentials cartridge and rainbow patterned paper, cut one circle at 2 1⁄4”

6. Using Cricut Essentials cartridge and cream cardstock, cut one circle at 2”. Then using your black pen add pen detailing and stamp sentiment.

7. Layer circles and adhere to card.

8. Using the Recess cartridge and cream cardstock, Cut first layer of the apple out at 1 1⁄2”.Then cut the shift layer out using the green patterned paper at 1 1⁄2”. Using the layer function, cut the main portion of the apple out in the red patterned paper at 1 1⁄2”. Then using the prawn patterned paper cut out the stem by using the layer feature and the shift key at 1 1⁄2”.

9. Assemble apple and adhere to card.

 What you will need:

                Provo Craft Supplies

·         Cricut® Expression 2: Anniversary Edition

·         Cricut® Lite Recess cartridge

·         Cricut® Essentials cartridge

                Other Supplies

·         Adhesive

·         Black Ribbon

·         Paper: kraft cardstock, yellow Patterned paper, aqua patterned paper, green patterned paper, brown patterned paper, red patterned paper, rainbow stripe patterned paper, school themed patterned paper, and cream cardstock

·         Teacher themed stamps

·         Black Ink

·         Red Ink

·         Black pen

·         Paper cutter


Free-to-Rock Pencil Holder

Instructions:

1. Cut FREE TO ROCK. Using Rock Princess cartridge and Raven vinyl, select Phrase feature and cut one 3" . Using Rose Pink vinyl, select Phrase feature, press Shift, and cut one 3" .

2. Layer on pencil holder as shown using transfer tape.

3. Adhere ribbons around top of pencil holder as shown.

4. Adhere button to ribbons as shown.


What you will need:

                Provo Craft Supplies

·         Cricut Expression® Personal Electronic Cutter with Plantin SchoolBook and Accent Essentials® cartridges [290300]

·         Cricut® Rock Princess cartridge [2000372]

·         Cricut® Cuttables Vinyl, Raven [290457]

·         Cricut® Cuttables Vinyl, Rose Pink [290467]

·         Cricut® Cuttables Vinyl Transfer Tape [290519]

                Other Supplies

·         Glass pencil holder

·         Ribbon: hot pink, orange

·         Button: black and white

·         Glue gun


Personalized Notebook 

Instructions:

1. Cover notebook front with diagonal striped paper.

2. Cover rest of notebook with awning striped paper.

3. Cut label. Using Accent Essentials cartridge and pink cardstock, cut one 3" . Repeat cut using dark red cardstock. Adhere to notebook as shown.

4. Using letter rub-ons, spell notes and place on label.

5. Apply rub-on flowers as desired.

6. Add ribbon of your choice to side of notebook as shown.


What you will need:

                Provo Craft Supplies

·         Cricut Expression™ Personal Electronic Cutter [29-0300]

·         Cricut® Accent Essentials® cartridge [29-0391]

                Other Supplies

·         Composition notebook

·         Paper: diagonal striped, awning striped

·         Cardstock: pink, dark red

·         Rub-on letters

·         Rub-on flowers

·         Ribbon

·         Adhesive


Thank you Provo Craft for sending me these great Back to School Projects. They are great inspiration and simple to make.


Thursday, May 26, 2011

Teacher Card

Back -2- School


I love the colors in this card. I used a Digi Stamp from Sweet N Sassy Stamps, called Pencil Holder. This is a great Digi to color for teacher cards or projects.

The paper is from DCWV the Grade School Stack. I was so excited when I bought this awesome paper at a yard sale. It is perfect for teacher cards or projects.

Thursday, February 10, 2011

Magnetic Picture Frames

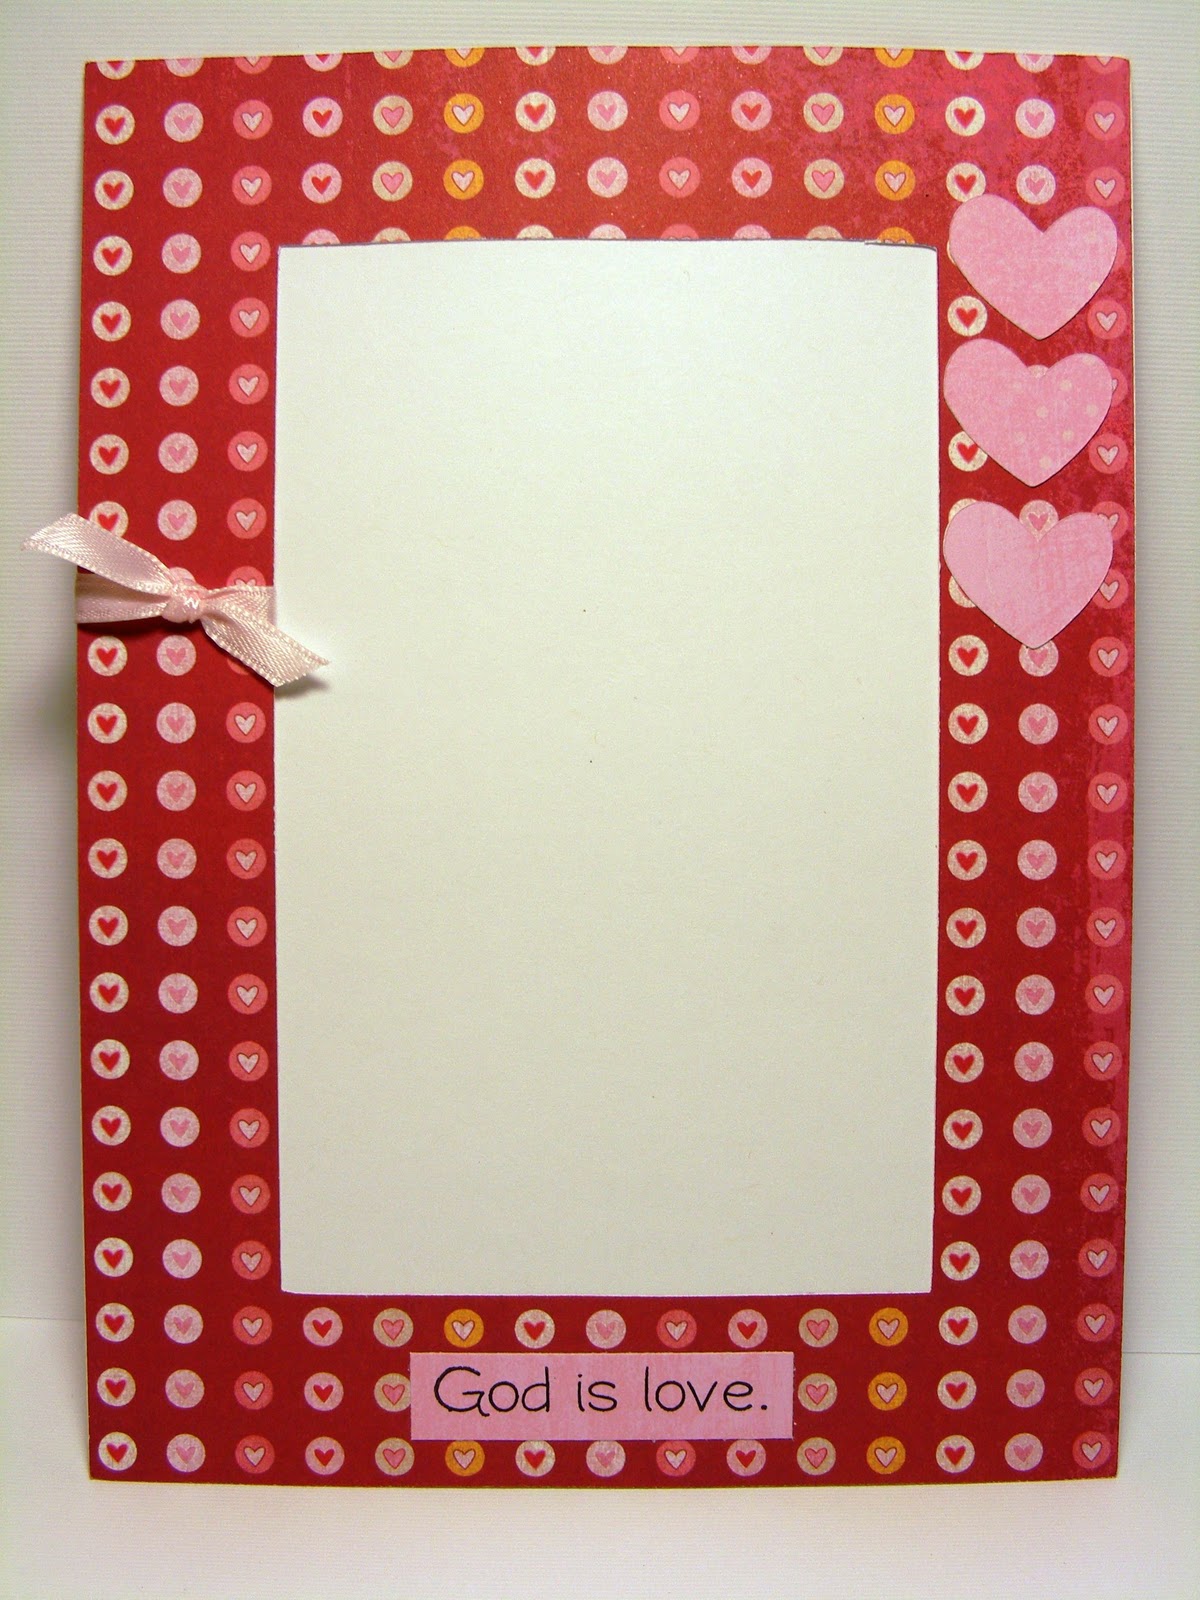
I made 40 magnetic picture frames for a Daddy/Daughter dance at church. A photographer will be taking 4x6 pics and then this will be a souvenir to take home. There is only adhesive on 3 sides so the photo can slide in from the top. These are just a few pictures of the designs I made. I used the amazing, My Pink Stamper Stamps for the sentiments. They are from her NEW stamp sets: Sweet Baby & More Faithful Sayings. Click HERE to check out all of My Pink Stamper Stamps. I also just out some hearts from Simply Sweet Cricut Cart and tied some ribbon around it to embellish it. For the pattern paper I used the K&Company 12x12 KP Valentine paper pad. These are simple & cute frames that you can put your favorite pictures of your loved ones in.

To create the frame I used Plantin SchoolBook to make 2 rectangles:  
Outside W-7.62" x H-5.25"
Inside W-5.51" x H-3.25"
I tried lining the rectangles up perfectly on my gyspy so it was exactly in the center of the frame.
Then I also used the outside rectangle cut for the back of the frame. I just used regular white cardstock for that.


All 40 Frames
The back of the frame
 Come back Friday night at 8pm CST for our Pinkalicious Blog Hop with all the My Pink Stamper Design Team.

Wednesday, February 9, 2011

PaperTrey Ink - Color Challenge

If you are looking for my Fantabulous Cricut Crawl- Share The Love!  Post then click HERE

PaperTrey Ink - Color Challenge
These are the colors I chose to use and make a Boy's First Birthday Card.


Action Wobble behind Sentiment

Ripe Avocado Paper & Ribbon
Ocean Tides Paper
Vintage Cream Paper
Dark Chocolate Paper
Frame Stamp - Fillable Frames #6 Stamp Set
Time To Celebrate Stamp - Fillable Frames #6 Stamp Set
All Boy Stamp - Daily Designs Sentiments

Cricut Cuts
Car- Paper Doll Dress Up - 1.75"
1- Plantin SchoolBook - 2.50"

Other Supplies
Action Wobble- used to raise up & wiggle the sentiment
Cuttlebug-Swiss Dots
Brown Gel Glitter Pen
Chestnut Roan - Cat's Eye Chalk Ink
Pop Dots - behind 1 and car

To join in this PaperTrey Ink Color Challenge click HERE.

This Friday will be our My Pink Stamper Blog Hop. We are officially calling them, My Pinkalicious Blog Hops. You can even get your very one Blog Hop badge to post on your blog from My Pink Stamper. Click HERE & copy the code on the left side.


Monday, January 10, 2011

Winter Warmies FCCB Challenge #42

Winter Warmies FCCB Challenge #42
Use some type of winter clothing/accessory on the project. At first I wasn't sure what I wanted to make & then I thought of this cute little beaver with the scarf. Then I wanted to make a card using the Smiley Cards. So this is what I designed.


The card base is from Smiley Cards. The outside layer is cut at 3.5" & the inside layer is cut at 3.25". Then I cut the tab off the inside layer. The patterned background was cut with Plantin SchoolBook at 4". I am not sure what size the blue layer to write on was. The beaver was cut from Winter Frolic at 2". Then I inked it & made details with a glitter gel pen. The Sentiment is from PaperTrey Ink -Daily Designs Sentiments. I hope you enjoyed this unique card design.
Join us at the Fantabulous Cricut Challenge Blog (FCCB) and post your own Winter Warmie. Just include at least one Cricut cut & use some type of winter clothing or accessory on your project.

Thursday, September 23, 2010

Birdie Gift Bag

Birdie Gift Bag

Bag: Tags, Bags, Boxes & More- shift gift bag 5 1/2" (2 bags fit on 12x12)
Bird: Create A Critter- 2 1/4"
Tag: Plantin Schoolbook- 2 1/2" real dial size
Stamp: My Pink Stamper-More Punny-licious


Friday, August 13, 2010

Tag Journal & 1st birthday card

Tag Journal

I made both of these tag journal's for gifts. Once for a baby shower & the other for a 1st birthday.
The insides are the same but the covers are different.
I used paper from K&Company Lion Sleeps 12x12 Paper Pad
I bound it with 1" book rings


All the tags are white with brown ribbon stapled to it. I left them plain so they could put a picture or write something on it.

Here is the recipe for the tag journal.
Cricut Cartridges Used:
Tags, Bags, Boxes & More:
6 - Tag - 5.65"
6 - Folders- 11.35"
2 - Covers - 11.35"
This is the folder & on my gypsy I moved the half the of the folder off my mat that I didn't need. So I only cut half the folder to make a cover. If you don't have a gypsy just cut the folder out & then cut the part off that you need for the cover.

Baby Cover:
Cricut Cartridges Used:
Plantin SchoolBook:
Baby- 1.25"
I cut it regular & then with the shadow feature also.

Quinn Cover:
Cricut Cartridges Used:
Simply Sweet:
Quinn -1.25" Blocked & Blackout Features
Graphically Speaking:
Circle- 3.15"
To make a 1/2 circle I moved it on my gypsy 1/2 off the mat so it would cut it the way I wanted.


This is a card that I made to go with Quinn's Tag Journal.
Card Recipe:
Cricut Cartridges Used:
Graphically Speaking:
number 1 collage - 1.37"
Simply Sweet:
Gift Box - 2.18" Shift & Gift Box Shadow - 2.08" Shift Shadow
Alphalicious:
1 -  1.04" Short Stack Shadow Feature

I know there are alot of instructions for this project but it is alot of fun & a great gift. Once you make one then it becomes alot easier.

Friday, May 28, 2010

Dad Card


Dad Card

Cartridges:
Plantin SchoolBook-Roly Poly- dad - about 1" and welded (on the gypsy)
Paper Doll Dress Up- Accessories 3- Car- 2.18"

Color Box Fluid Chalk Inkpad- Chestnut Roan-Cat's Eye

I really liked the cut of the car because it made inking it look good.
I bent the wheels out to ink the top and then I folded the car by the door to ink the car door.
Very cute car.