Showing posts with label MPS Stamps. Show all posts

Tuesday, May 1, 2012

My Pink Stamper NEW Release - Around the Corner


Thank You Card
 
Last Friday, My Pink Stamper Released 4 NEW Stamp Sets.

Here is a card I made using "Around The Corner"


This is a great card to make from using scraps and extra supplies you have laying around. That is exactly what I did. I used scrap pattern paper and then found colors to match it. I layered 2 flowers and topped it off with a button and twine.


Supplies and Instructions
Flowers 
Button
Fancy Floss: We R Memory Keepers - Blue Lagoon
Yellow Mat: 5 1/4" x 4"
Pattern Paper: 5" x 3 3/4"

Go check out My Pink Stamper to see all the NEW Stamp Releases and all the amazing projects the Design Team has made just for you.


Friday, March 9, 2012

Pinkalicious Blog Hop and Giveaway

Good Luck Card
 Pin It

Welcome to the Pink-alicious Blog Hop.
If you are coming from Carissa's (Sprinkled with Glitter) Blog then you are right on track. If not, then begin the hop at www.mypinkstamper.com


The theme for this challenge is: St. Patrick's Day! Think Green! Show us a card, layout, mini book, party idea, home decor--anything! 
I had alot of fun creating this clover leaf. I cut 4 - 1 1/2" hearts from 2 different colors of paper. The top layer I scored and folded in half. Then adhered it with 1/8" score tape to hold down the center fold. I topped it off with a rhinestone that I colored with a green Copic Marker.


Instructions and Supplies
Card Base: 5 1/2" x 5 1/2"
Card Layer: 5" x 5"
Cuttlebug Embossing Folder: Seeing Spots - then sand the spots
Cricut Cartridge: Home Accents
Cut 4 - 1 1/2" hearts from 2 different colors of paper = total of 8 hearts
Sand the edges of hearts
Fold and Score the hearts that will be on top
Rhinestone: Color with green Copic Marker
Twine: PaperTrey Ink
Paper: Green - Core'dinations (3 shades of green)
Kraft - PaperTrey Ink
Round corners
Pen: White
Ink: Stazon - Timber Brown


Stamp: My Pink Stamper - Fancy Phrases Stamp Set
To see all of the My Pink Stamper stamps, click HERE.

Today I have a give away for you. 
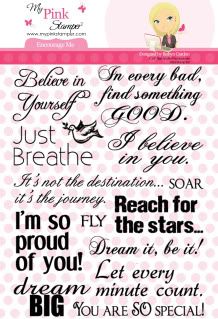
My Pink Stamper - Encourage Me Stamp Set
This is large stamp set with great sentiments to make anyone's day special.
For a chance to win: Leave only one comment at the end of this post. 
Tell me what your favorite part of Spring is. I love getting to know my readers. 

Spring is my favorite season in the Midwest, United States. I love it when the weather begins to warm up, the flowers start to emerge out of the ground, and the trees being to bud. I love flower beds and I can't wait till it is warm enough to get outside to clean up my flower.

I will draw a winner on Tuesday.


Your next place to hop and be inspired is Andrea (Divine Domesticity)
Here is the Blog hop order in-case you get lost along the way.


Blog Hop List--March

Thank you for visiting Simple Creations Paper Crafts! 
Come back again soon for more inspirational projects.

Angela

Tuesday, February 21, 2012

My Pink Stamper - February Design Team Project - Layout

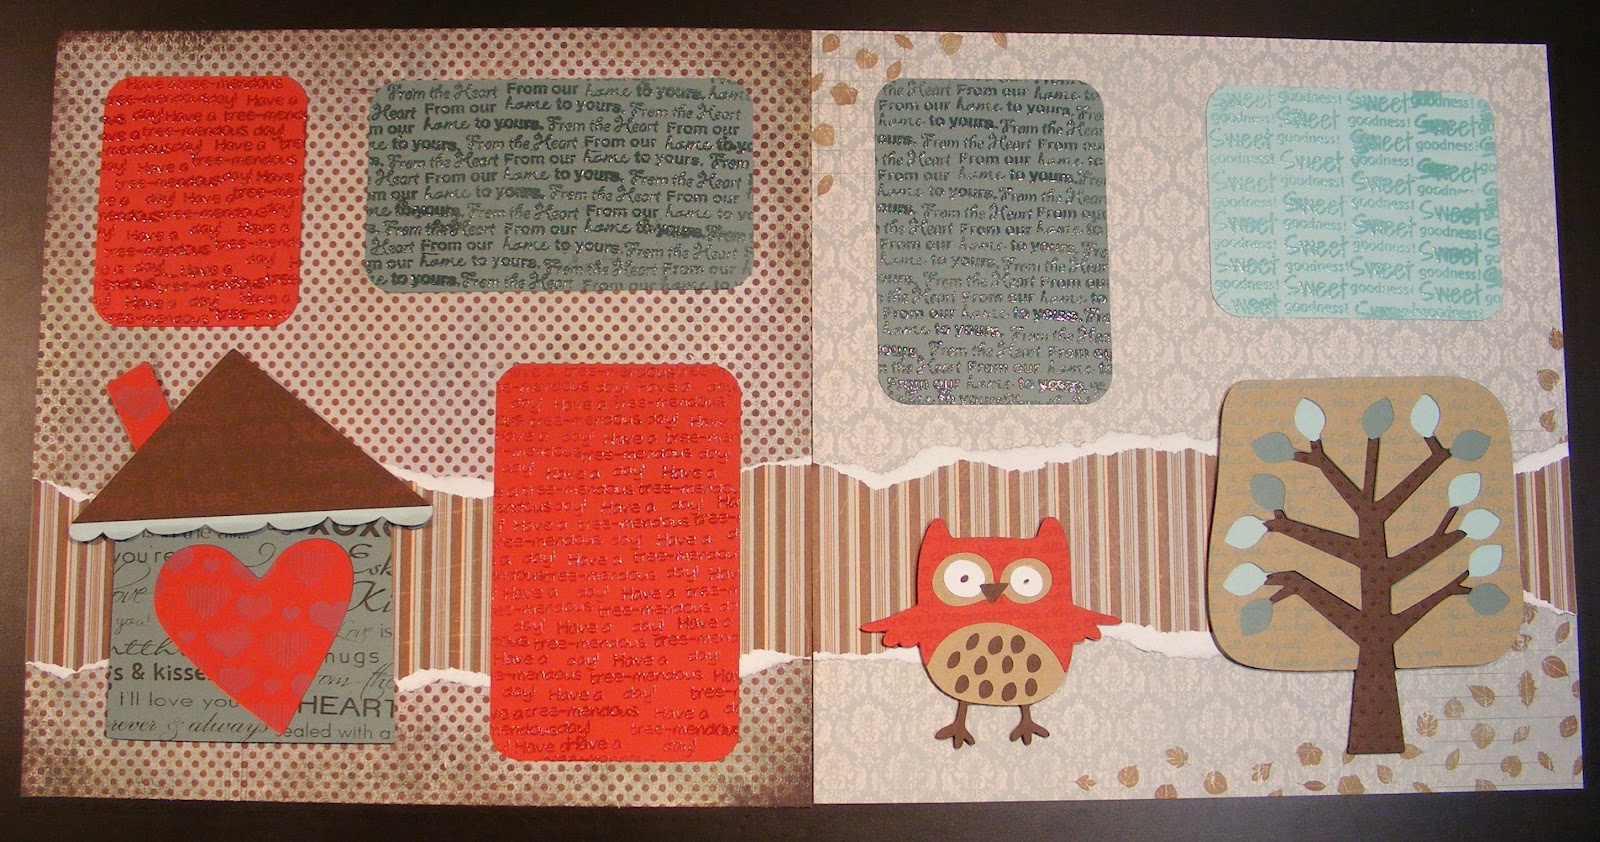
Welcome to this months post, where My Pink Stamper's design team was challenged to use as many stamps as we could. I had so much fun with this challenge. I definitely used alot of stamps. Since there are so many techniques and details in this project I included a quick video and alot of pictures to show you what I did.


When you are finished seeing my Layout, go to www.mypinkstamper.com to see all the design teams amazing projects and how they used many stamps on them.


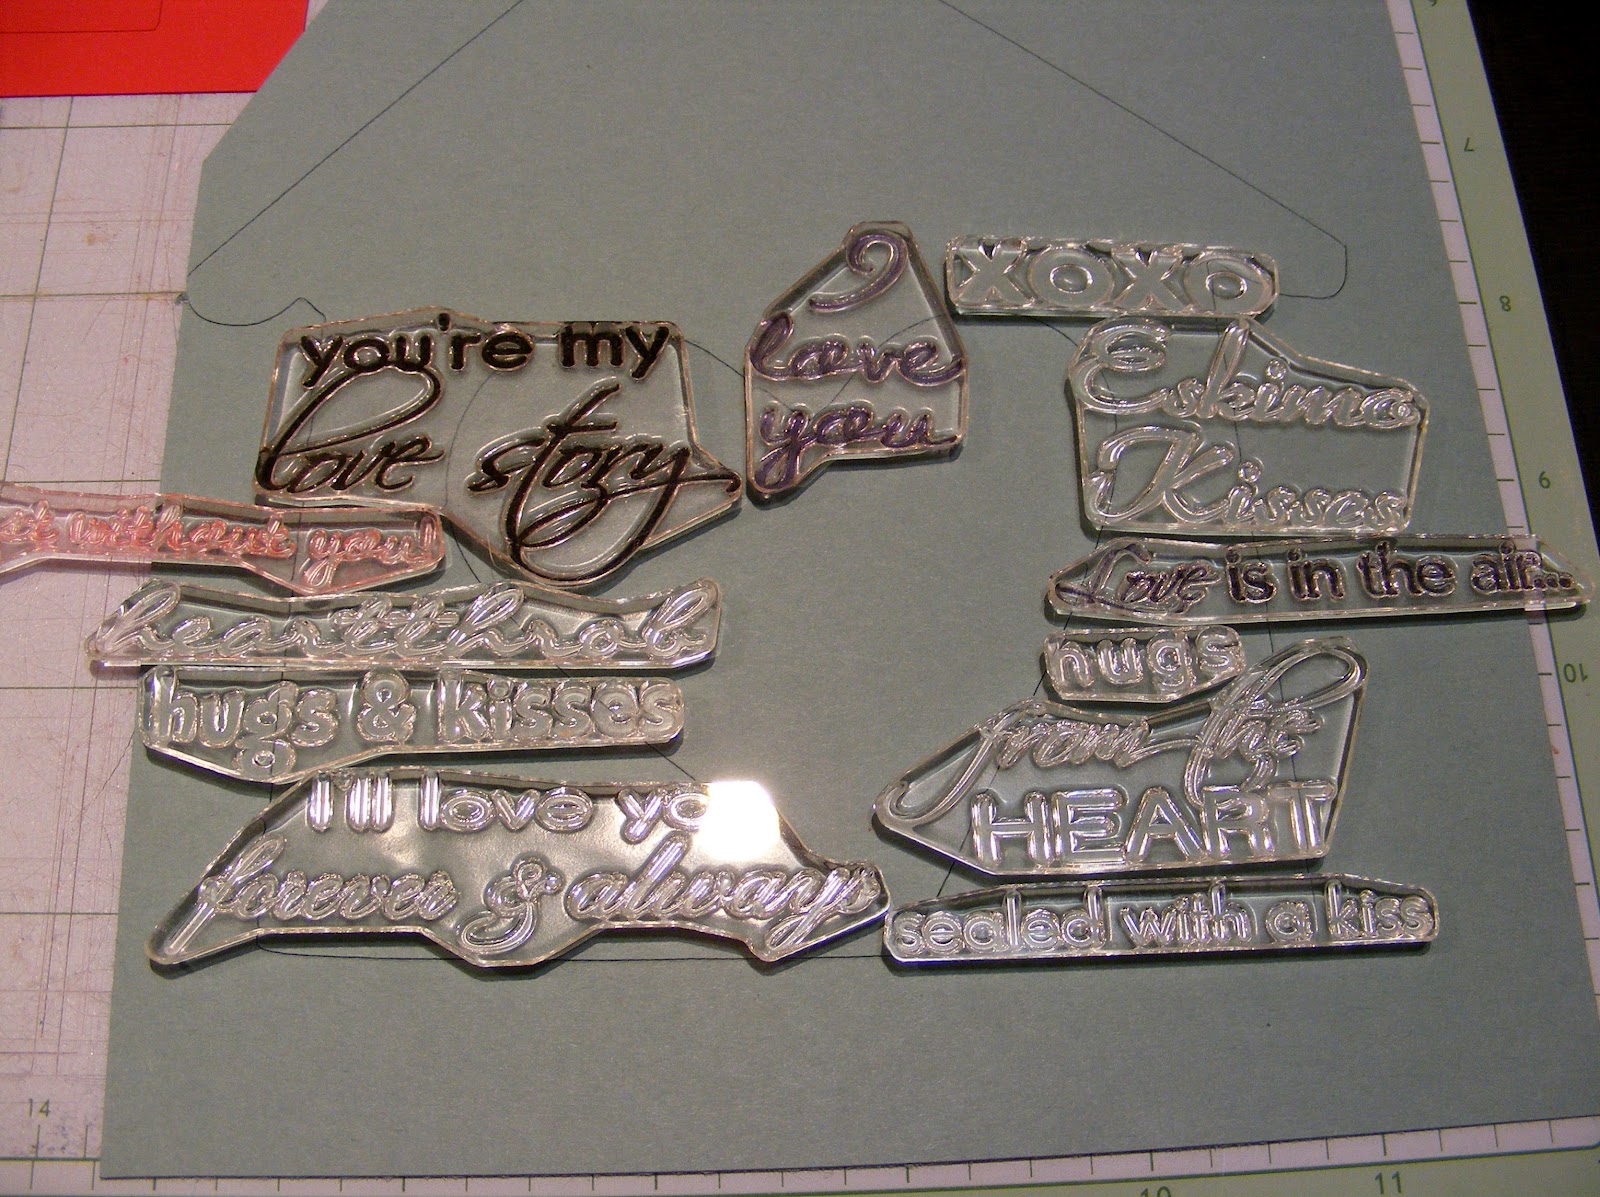
 This is how I layed out my the stamps. Then I put an acrylic stamping block on it. Inked it up and stamped it. I stamped it while the cut was still on my Cricut cutting mat since the stamps went over the edges.
 I used just 1 stamp over and over on the tree. It looks like a scripted pattern paper.
 
 I embossed the center of the tree base with the Cuttlebug Swiss Dots Embossing Folder. Only the center part of the tree showed so its ok that the folder is small.
 All the plain paper is by PaperTrey Ink. It is very thick and great quality. I love how it created such a dimensional tree because of all the thick layers.
 On the owl I used one stamp over and over with Versa Mark watermark ink. I didn't use any embossing powder on it but left it looking watermarked.
 All of these cuts were from the Hoot 'n' Holler Cricut Cartridge. It was a new cartridge that I hadn't used yet, so I picked it just for this project. I love how fun these cuts are.

This is how the red paper looked before(bottom) and after(top) I heat embossed it.


Supplies & Instructions
My Pink Stamper Stamp Set used on each of the following...
From the Heart
House
More Punny-licious
 Owl & Red Paper
Yummy-licious
 Tree, Dark Blue, and Light Blue

To order your own My Pink Stamper Stamps, click HERE.


Cricut Cartridge
Hoot 'n' Holler
House - button #4 cut at 6"
Tree - button #9 cut at 5.75"
Owl - button #45 cut at 3.5"

Paper
Solid Paper - PaperTrey Ink
Patter Paper - Dream Street Paper
(Stripes) Sam-Rock On
(Damask w/ leaves) Sam - Change is Good
Basic Gray - (Poka Dots) archaic/ancient
  
When you are finished seeing my Layout, go to www.mypinkstamper.com to see all the design teams amazing projects and how they used many stamps on them.


Friday, February 10, 2012

Pink-alicious Blog Hop - Love Card

Welcome to the Pink-alicious Blog Hop.
If you are coming from Andrea's Blog then you are right on track. If not, then begin the hop at www.mypinkstamper.com


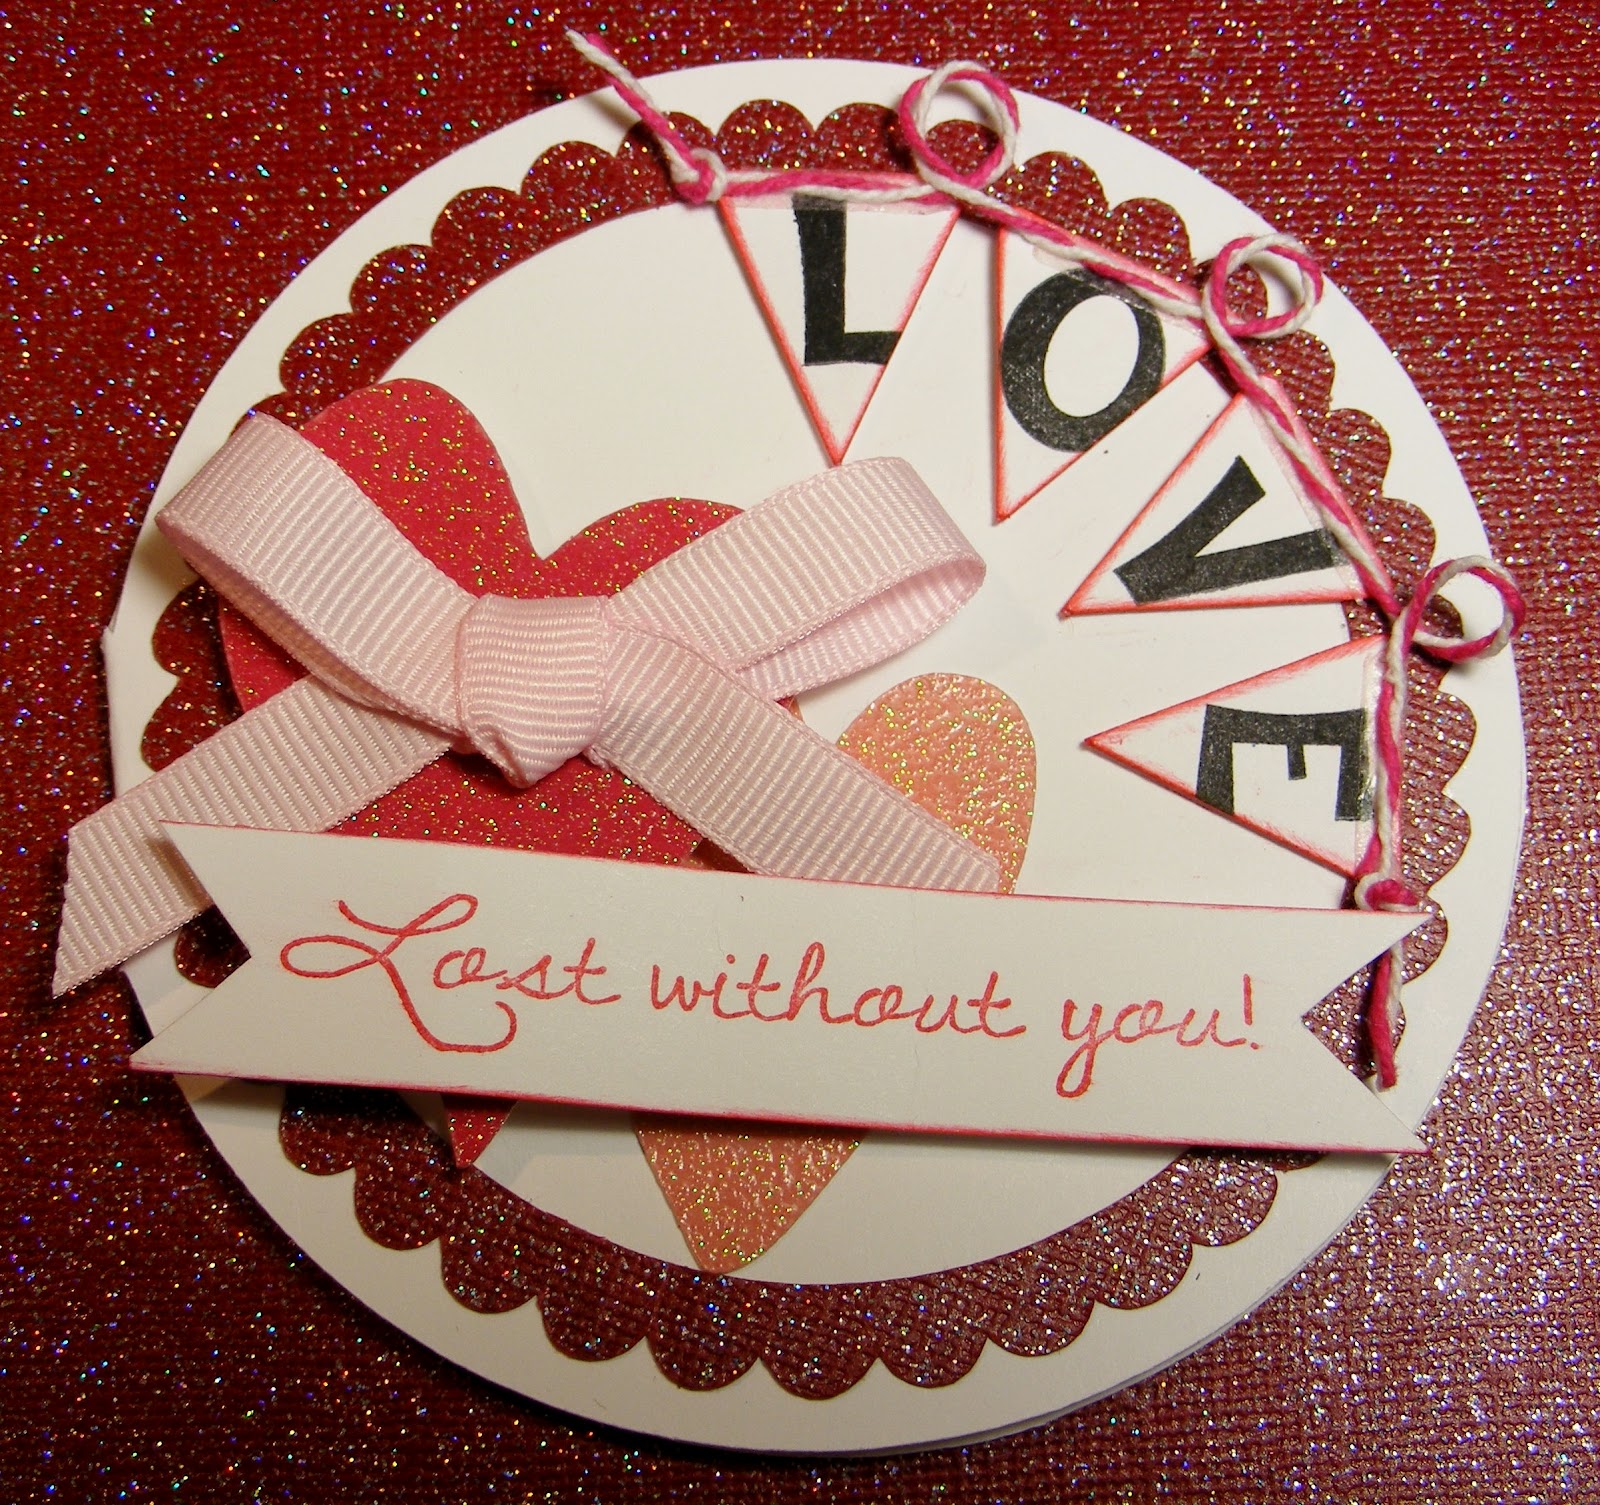
 For this challenge we were to make a card with a circle, the color red, a pink ribbon, and more than one My Pink Stamper Stamp. So I wanted to make a different type of card. I wanted to make it with alot of layers and dimention to bring it all together.


Instructions and Supplies
Card Base: Smiley Cards Cricut Cartridge - button #1, Card Function cut at 4"
Scallop Circle: Home Decor Cricut Cartridge - cut at 3.75" (real dial size)
I glued and taped the glitter paper to the Cricut Cutting Mat so it wouldn't move as it cut.
Hearts: w/2 slots for ribbon - cut at 2.25", solid - cut at 2"
Flags: Mothers Day 2010 Cricut Cartridge - cut at 1"


Other Supplies:
Color Box Pigment brush pad - Cranberry
twine
ribbon
glitter paper
foam squares

Your next place to hop and be inspired is Carissa.

Here is the Blog hop order in-case you get lost along the way.

Blog Hop List--February


Thursday, February 9, 2012

Preschool Valentines - Quick and Easy

My oldest daughter is in preschool. This is what we made for her Valentine Cards at school. The teacher suggested having the students write their name on every card. So of course Ariel got alot of practice righting her name.


 My favorite tools to round corners, punch holes and set eyelets.
The "We R Memory Keepers" Corner Chomper and Crop-A-Dial

Instructions
I started with some scrap Valentine paper. Then rounded the corners. Stamped the sentiments. Had Ariel write her name over and over. Punch two holes for the suckers. Insert the sucker. Adhere the "from" label. These were really easy to make. I made 25 of them in probably an hour.

Supplies
Stamps: My Pink Stamper - 
From the Heart and Yummy-licious Stamp Sets
Suckers - from the Dollar Store (14 for $1)
Valentine Paper

To see all of the My Pink Stamper Stamps, click HERE.

Tomorrow night is our Pink-alicious Blog Hop. That is where we hop from all the My Pink Stamper Design Team Blogs. Its so much fun to see everybody's projects and be inspired to make our own creations. I have to tell you I had alot of fun with our blog hop challenge. To hop along with us go to www.mypinkstamper.com at 8pm (CST) Friday night.


Here we just a few of the different ones we made.


Wednesday, January 25, 2012

My Pink Stamper - January Blog Post - Love is in the air

Love is in the air...
 
Designed with my new favorite tool, the Cricut Craftroom.
Printed and cut using the Cricut Imagine.
Stamped with My Pink Stamper's - From the Heart Stamp Set.


Most the supplies used.
Even though I printed and cut the elements for this card on the Cricut Imagine, it could still be cut with pattern paper on the any other Cricut Machine.

Cricut Craftroom Instructions
As I mentioned before, I designed it in Cricut Craftroom. It is a free software that you can use to craft with any of the Cricut Machines. I will admit I was a bit hesitant to use it because I didn't know where to begin. I didn't know how to get my computer plugged into my Cricut and I also wasn't sure how to let it know what Cricut Cartridges I owned so I could cut with them. Well let me share with you want I learned. You can use a printer cord to connect your Cricut Machine to your computer. One end with be a USB end and the other is a square looking end. If you already have Cricut Craftroom installed on your computer, when you plug it into your machine then it will prepare you to update your machine. It will take a little while depending on your internet speed, but be patient. Then you create your project. Finally when you go to cut it will tell you to insert your Cricut Cartridge into your machine. That way it knows that you own it. If you want to permanently link your Cartridge then you can click on the little link button. If you are borrowing somebody else Cartridge, then DONT link it. If you don't link the Cartridge then it will prompt you to insert it each time you want to cut with it. I hope that helps answer some questions you may have about the Cricut Craftroom. Let me say....I have a Gypsy and I love it, but I really love the Cricut Craftroom.

Card Instructions
Cricut Cartridge: Simply Sweet to cut images
Elise to print patterns on the Cricut Imagine

The rectangle is cut at: W-5.25", H-3.5"
I adjusted those measurements from the square.
Hearts: cut 1.25" and flipped
Love: cut at 1.5" 
I rounded the corners with the Corner Chomper.
Star Dust Stickles on the word Love.
I inked the edges using Tim Holtz - Old Paper Distress Ink

I hope you enjoyed this card. To see more projects from the My Pink Stamper Design team go to www.mypinkstamper.com

I also had several other posts this week, so scroll down to see more Simple Creations.

Visit Back Soon.
Angela


Tuesday, January 24, 2012

It's Robyn - My Pink Stamper's Birthday

Today is Robyn - My Pink Stamper's Birthday

Here is a card I made for her. It was the first card I made using my Cricut Imagine. It was so much fun to see it come together. This card can be made using any Cricut Machine and pattern paper.


Supplies & Instructions
Images cut from 3 birds - Straight from the Nest Cricut Cartridge.
All images were filled with patterns or colors from the Elise Cricut Imagine Cartridge
Tree cut 5"
Bird cut 2.5"
Label cut 1.5"
(Sorry I can't figure out what cartridge the label was cut from. I looked all over but I can't find it. If someone knows what it is please let me know.)

Twine - We R Memory Keepers
Pink Glitter Paper - Flower Shower Spring Glitter Matstack - DCWV

Please go and wish Robyn - My Pink Stamper, Happy Birthday at her website, www.mypinkstamper.com

I am also using this card for the Fantabulous Cricut Challenge Me Monday #95. The challenge this week is to make something using a label (other than a circle) and the cricut. To see this challenge click HERE.

Monday, January 23, 2012

Special Note - Valentine Tag


I had some scrap Valentine paper and these Mini Bags I purchased a while ago. So I wanted to make a cute little Valentine with it. Here's what I came up with.


These Mini Bags are 2.5" x 4". If you don't have any, I'm sure you could cut some from Tags, Bags, & More Cricut Cartridge.


Supplies & Instructions
Heart - cut from Simply Sweet Cricut Cartridge at 1" and flipped
Valentine Paper
Mini Bags
White Pen
Clip from Tim Holtz
Twine from PaperTrey Ink
little Heart punch
Star Dust - Stickles inside the little heart

I love how this cute little Valentine note came out. Im going to write something special in it and give it to my husband.

I just got the My Pink Stamper - Lunchbox Thoughts Stamp Set. I couldn't wait to create something with it. It is so versatile and perfect for putting little notes in a child's or someone special's lunch. Click on the name of the stamp set to view more amazing stamps sets by My Pink Stamper.


Friday, January 13, 2012

Pinkalicious Blog Hop

Welcome to the My Pink Stamper Pink-alicious Blog Hop. This is where we hop from each of the designers blogs to see everyone's great projects using the Cricut and My Pink Stamper Stamps.

If you are coming here from Renee (RockinRenee) then you are right on track. If not, then go to the beginning, Robyn (My Pink Stamper) 

For Christmas I got a Cricut Imagine. I've had a little time to play around with it. So I want to share a project with you that I made using the Cricut Imagine. 
This month we were challenged to create something for myself or someone else that would give them a fresh clean start. So I created a journal that I can jot down important things from my personal time with God. Our church is doing a 21 day fast in January, so I thought this would be the perfect project I could make to help with a fresh start to 2012.


The label shape was cut from the shapes on the Cricut Imagine. I filled it with a pattern on pg 42 of the Imagine More Cartridge. Then cut it at 1.5". My Imagine wasn't calibrated so it cut the paper alittle off. So to fix it I inked the edges of the label with Charcoal Color Box Inkpad. Then I stamped the hearts and You're my love story on the label. Those stamps are from My Pink Stamper's - From the Heart stamp set.


To cut the pages that looks like lined paper, I used just one of the layers from an image on pg17 of the Imagine More Cartridge. 2 pages would fit on each 12x12 sheet of paper I printed. I cut them at 5"


I stamped sentiments from My Pink Stamper's - More Faithful Saying stamp set on each page of the journal using Old Paper - Tim Holtz Distress Ink, so it would be faint.

The border was cut from pg 26 of the Imagine More Cartridge at 1.7" Then I stitched the diagonal stitches using the We R Memory Keepers - Sew Easy - Zigzag roller. Then sewed the Bakers Twine Tertiary fancy floss from We R Memory Keepers. Finally I stamped Thinking of you today! on the border. That stamp is from My Pink Stamper's Fabulous Phrases stamp set.

For the covers I cut paper close to the size of the inside pages and rounded the corners. I stapled the covers and pages together with a stapler and then adhered the border to the cover to hid the staples.


I'm having so much fun with my Cricut Imagine. It takes plain Cricut cuts to the next level by printing the patterns in it. Its also nice to combine all the layers and print them together. Many of the images from the Imagine More Cartridge will be great to use in my Smash book, in the future. The possibilities are endless.

Summary of Supplies & Instructions:
Cricut Imagine Machine

Cricut Cartridge: Imagine More
label: shape from the imagine, filled with pattern on pg 42, cut 1.5"
border: pg 26, cut 1.7"
paper pages: just 1 of the layers on pg 17, cut 5"

My Pink Stamper Stamp Sets: From the Heart, Fabulous Phrases, More Faithful Sayings

Ink: Old Paper - Tim Holtz Distress Ink, Timber Brown - Stazon Ink, Charcoal - Color Box Chalk Ink
We R Memory Keepers: Sew Easy Tool, Zigzag roller, Bakers Twine Tertiary fancy floss

To Purchase or see all of My Pink Stamper Stamps click HERE.

For more My Pink Stamper fun hop to the amazing:

 If you get lost along the way here is our hopping order.
Don't forget to finish up at Robyn (My Pink Stamper)  to join in the fun.


Blog Hop Order


Monday, January 2, 2012

MyPinkStamper.com


Welcome to Simple Creations where I love to inspire others to craft and cherish memories through scrapbooking, cards, and home decor.

I have had the honor of serving on the My Pink Stamper design team. This month I will begin my third term designing for Robyn. It as been so much fun. Her stamps are made of amazing quality photopolymer and stamp really well. Not to mention she has made so many great stamp sets to go with every occasion. These stamps work great on cards, scrapbook layouts, or any home decor project you have. I first came across My Pink Stamper on youtube.com. Her youtube channel is Robyn Stamps. She has made hundreds of great instructional video of how to make projects using the Cricut machines and stamps. She even has made instructional DVD's with videos never seen anywhere else. 

Here is a project I made using My Pink Stamper's - Sweet Goodness Stamp Set.


I designed this card on my Gypsy using:
Straight From the Nest Cricut Cartridge
Button #33 - Cut at 3.5"

Line up the papers to cut out all the cupcake layers on one cutting mat.
Cut out the cupcake on the Cricut Expression.


I cut out the cupcake using several pattern papers to create a colorful cupcake.


Ink around the icing & cherry on the cupcake using:
Color Box Chalk Ink - Dark Brown
I used a sponge to control how much ink I applied to the paper.


Here are most the supplies I used to create the card.
Use Seeing Spots Cuttlebug Embossing folder on the red paper to create the raised circles.
Tie twine around the card and tape on the back to hold in place.
Stamp the sentiment from My Pink Stamper's - Sweet Goodness Stamp Set


Sunday, January 1, 2012

DL.Art's Blog-a-versary Blog Hop


Welcome to DIANA L.'s  DL.ART  1 year blog-a-versary blog hop.  Including me there are 12 stops you will be making.  On these stops, you will find four people with a word; that will give you the clues, for the ingredients you will need, to complete your project.  Each designer will have a project that will inspire you and also have some clues as to what the ingredients are. You will have until Jan 6, 2012 @ 11:59 to link you project at
DL.ART's blog. Once you have linked your project, you will have a chance to win the Provo Craft Cricut  "Sweet Tooth Box cartridge" at DL.ART's Blog.

I want to say Congratulations to Diana for all she has accomplished in just one year on her blog. She has so many followers, participates in many challenges, leaves wonderful comments, & she is so generous with so many giveaways. She has truly become a blogging friend. This summer she made some beautiful gratitude journals to giveaway. She was so generous that she made more journals so that everyone who left a comment could get one. We all can learn alot from Diana.

Now to my project...


Supplies & Instructions
Cricut Expression Machine
Cricut Cartridge: Cupcake
Cupcake cut at 3"
Stamp Set:
Cuttlebug Embossing Folders:
Seeing Spots and Swiss Dots
Edges Distressed with Dark Brown-Color Box Chalk Ink
Foam Squares - to pop up cupcake

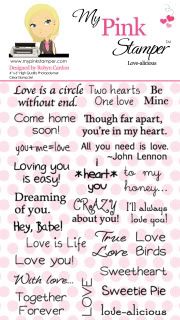
And to make DL.Art's Blog-a-versary fun, I have a GIVEAWAY for you. Robyn at My Pink Stamper has donated a Love-alicious stamp set to giveaway. That will be perfect for any Valentine Cards you might make. Just leave me one comment on this post: include something you look forward to this year and also an email address. I will pick a winner on Monday, January 9th. There will be another special event tomorrow on my website with several more giveaways. So visit back soon.

Giveaway donated by My Pink Stamper


 From here you will hop to Agnas' Flower Disco's Scrap Hut.
 Don't forget to go back to DL.ART's Blog at the end to post your own project.

Here is the blog hop LINE-Up in-case you lose your way:


http://dianamlarson.blogspot.com/
http://courtscrafts.blogspot.com/
http://amyscraftingspace.blogspot.com/
http://hawaiipaperparty.blogspot.com/
http://littlescrappieces.blogspot.com/
http://www.scpapercrafts.com/
http://flowerdiscosscraphut.blogspot.com/
http://girliascards.blogspot.com/
http://doubleclickconnections.blogspot.com/
http://chick-n-scrap.blogspot.com/
http://creativediva98.blogspot.com/
http://www.believedreamcreatewithmaria.com/
http://dianamlarson.blogspot.com/

Tuesday, December 20, 2011

Christmas Good Bags

After seeing Robyn - My Pink Stamper post her Christmas Goodie bags for her kids, I realized I should make some for my daughter.  My oldest is in Preschool, so this is the first year I've gotten to make some. This week, I helped at her school when they made Gingerbread houses. After realizing how much sugar they were going to have this week, I tried to come up with a different type of goodie bag (with less sugar).


Front

Back
So my goodie bags included a Christmas Pencil and pieces for them to make a Christmas Photo Ornament. I got enough supplies to make 20 of them from Micheal's for about $5. I made an example of each ornament and then took a picture. I wanted to show how the finished ones looked so I put it on the back. I edited it in Publisher using a shipping label template so I could make alot of them quickly.

Supplies
Stamps: A Child Is Born - Unity Stamp Company
Foam Ornaments & Pencils - Michael's

Then I made her teachers a post-it note holder and a recipe book.