Showing posts with label Simply Sweet. Show all posts

Thursday, August 9, 2012

Nautical Boy - Baby Shower Invitation

Baby Shower Invitation

Nautical Boy Theme

I had a customer request Baby Shower Invitation Samples. They don't know what they will be having yet but the Boy Invitaion was suppose to have a Nautical Boy Theme. So this is what I came up with. The center of the card is velum that I will print the Shower invitation on. It is 1/4" of and 8 1/2" x 11" size, so that it will be easy to print and cut.


Supplies and Instructions

Anchor: Life is a Beach Cricut Cartridge - Cut 2"
Sail Boat: "Just Because Cards" Cricut Cartridge - Button #44 - Cut 2"
BOY: Simply Sweet Cricut Cartridge - Cut 1.25" using Shadow Feature
Ink: My Pink Stamper - Serendipity Skies Deep Blue
Twine
Vellum

Wednesday, January 25, 2012

My Pink Stamper - January Blog Post - Love is in the air

Love is in the air...
 
Designed with my new favorite tool, the Cricut Craftroom.
Printed and cut using the Cricut Imagine.
Stamped with My Pink Stamper's - From the Heart Stamp Set.


Most the supplies used.
Even though I printed and cut the elements for this card on the Cricut Imagine, it could still be cut with pattern paper on the any other Cricut Machine.

Cricut Craftroom Instructions
As I mentioned before, I designed it in Cricut Craftroom. It is a free software that you can use to craft with any of the Cricut Machines. I will admit I was a bit hesitant to use it because I didn't know where to begin. I didn't know how to get my computer plugged into my Cricut and I also wasn't sure how to let it know what Cricut Cartridges I owned so I could cut with them. Well let me share with you want I learned. You can use a printer cord to connect your Cricut Machine to your computer. One end with be a USB end and the other is a square looking end. If you already have Cricut Craftroom installed on your computer, when you plug it into your machine then it will prepare you to update your machine. It will take a little while depending on your internet speed, but be patient. Then you create your project. Finally when you go to cut it will tell you to insert your Cricut Cartridge into your machine. That way it knows that you own it. If you want to permanently link your Cartridge then you can click on the little link button. If you are borrowing somebody else Cartridge, then DONT link it. If you don't link the Cartridge then it will prompt you to insert it each time you want to cut with it. I hope that helps answer some questions you may have about the Cricut Craftroom. Let me say....I have a Gypsy and I love it, but I really love the Cricut Craftroom.

Card Instructions
Cricut Cartridge: Simply Sweet to cut images
Elise to print patterns on the Cricut Imagine

The rectangle is cut at: W-5.25", H-3.5"
I adjusted those measurements from the square.
Hearts: cut 1.25" and flipped
Love: cut at 1.5" 
I rounded the corners with the Corner Chomper.
Star Dust Stickles on the word Love.
I inked the edges using Tim Holtz - Old Paper Distress Ink

I hope you enjoyed this card. To see more projects from the My Pink Stamper Design team go to www.mypinkstamper.com

I also had several other posts this week, so scroll down to see more Simple Creations.

Visit Back Soon.
Angela


Monday, January 23, 2012

Special Note - Valentine Tag


I had some scrap Valentine paper and these Mini Bags I purchased a while ago. So I wanted to make a cute little Valentine with it. Here's what I came up with.


These Mini Bags are 2.5" x 4". If you don't have any, I'm sure you could cut some from Tags, Bags, & More Cricut Cartridge.


Supplies & Instructions
Heart - cut from Simply Sweet Cricut Cartridge at 1" and flipped
Valentine Paper
Mini Bags
White Pen
Clip from Tim Holtz
Twine from PaperTrey Ink
little Heart punch
Star Dust - Stickles inside the little heart

I love how this cute little Valentine note came out. Im going to write something special in it and give it to my husband.

I just got the My Pink Stamper - Lunchbox Thoughts Stamp Set. I couldn't wait to create something with it. It is so versatile and perfect for putting little notes in a child's or someone special's lunch. Click on the name of the stamp set to view more amazing stamps sets by My Pink Stamper.


Monday, January 2, 2012

ExpressionsVinyl.com

Welcome to Simple Creations where I love to inspire others to craft and cherish memories through scrapbooking, cards, and home decor.

I found a great company to order vinyl from. It is Expressions Vinyl. They have so many types of vinyl to choose from. Indoor, Outdoor, Chalk Board, T-shirt, & Printable Vinyl. Not to mention they have the best prices and quick shipping. But don't take my word for it. Check out all the great deals for yourself at www.expressionsvinyl.com. If you decide to order from them, click on their button on the left of my blog and I will receive a percentage of it just for sending you their and being an affiliate with Expressions Vinyl.

Now I want to show you how I made a project using their Dark Red Vinyl. I cut out the vinyl on my Cricut Expression, using a "Kiss Cut." That means it will only cut through the vinyl and not the white backing. For the Circut the settings are Blade Depth 3, Pressure 3, and Speed 3. It is also important to have a sharp blade in the machine to get the best cut.


I used the 12" x 24" Mat to cut on
and the Gypsy to design with.


 To design it I used:
Opposites Attract Cricut Cartridge for the Words
Use the Opposite Function Key - Cut at 2.75"
Simply Sweet Cricut Cartridge for the Heart
Use Button #40 - Shift Blocked Feature - Cut 1.5"
I tilted the heart to get it to look like that.


 After cutting it, I cut off the extra vinyl to save for late using an exacto knife while it is still on the mat.


Carefully remove all the negative vinyl, including the centers of the letters.


Then place transfer tape over it & burnish. Burnishing means to rub with a firm surface, such as a flat scraper, a large popsicle stick, or a plastic card. I like to put my transfer tape on it while it is still on the mat to help keep everything flat.


 Remove the backing.


 Use a level and mark on the wall with a pencil to help place the vinyl on the wall level. After placing on the wall, burnish again to transfer it to the wall.


 Carefully remove the transfer tape. I like to pull it off slowly at an angle. If part of the vinyl comes off, then burnish again and then try to remove transfer tape again.


Here is what my finished project looked like. It is in our bathroom above the towel holder.

I love Expressions Vinyls for their great prices, quick shipping, and great customer service. If you have any question about their products, email them and they can assist you with it. They also have Vinyl Instructional Videos on their web site.

I am so excited to share this company with you and giveaway a $25 Gift Certificate donated by Expressions Vinyls. Leave just one comment for a chance to win. Please include an email address to contact you with, if you win. I will randomly pick a winner using Random.org on Monday, January 9th.


Thursday, February 10, 2011

Magnetic Picture Frames

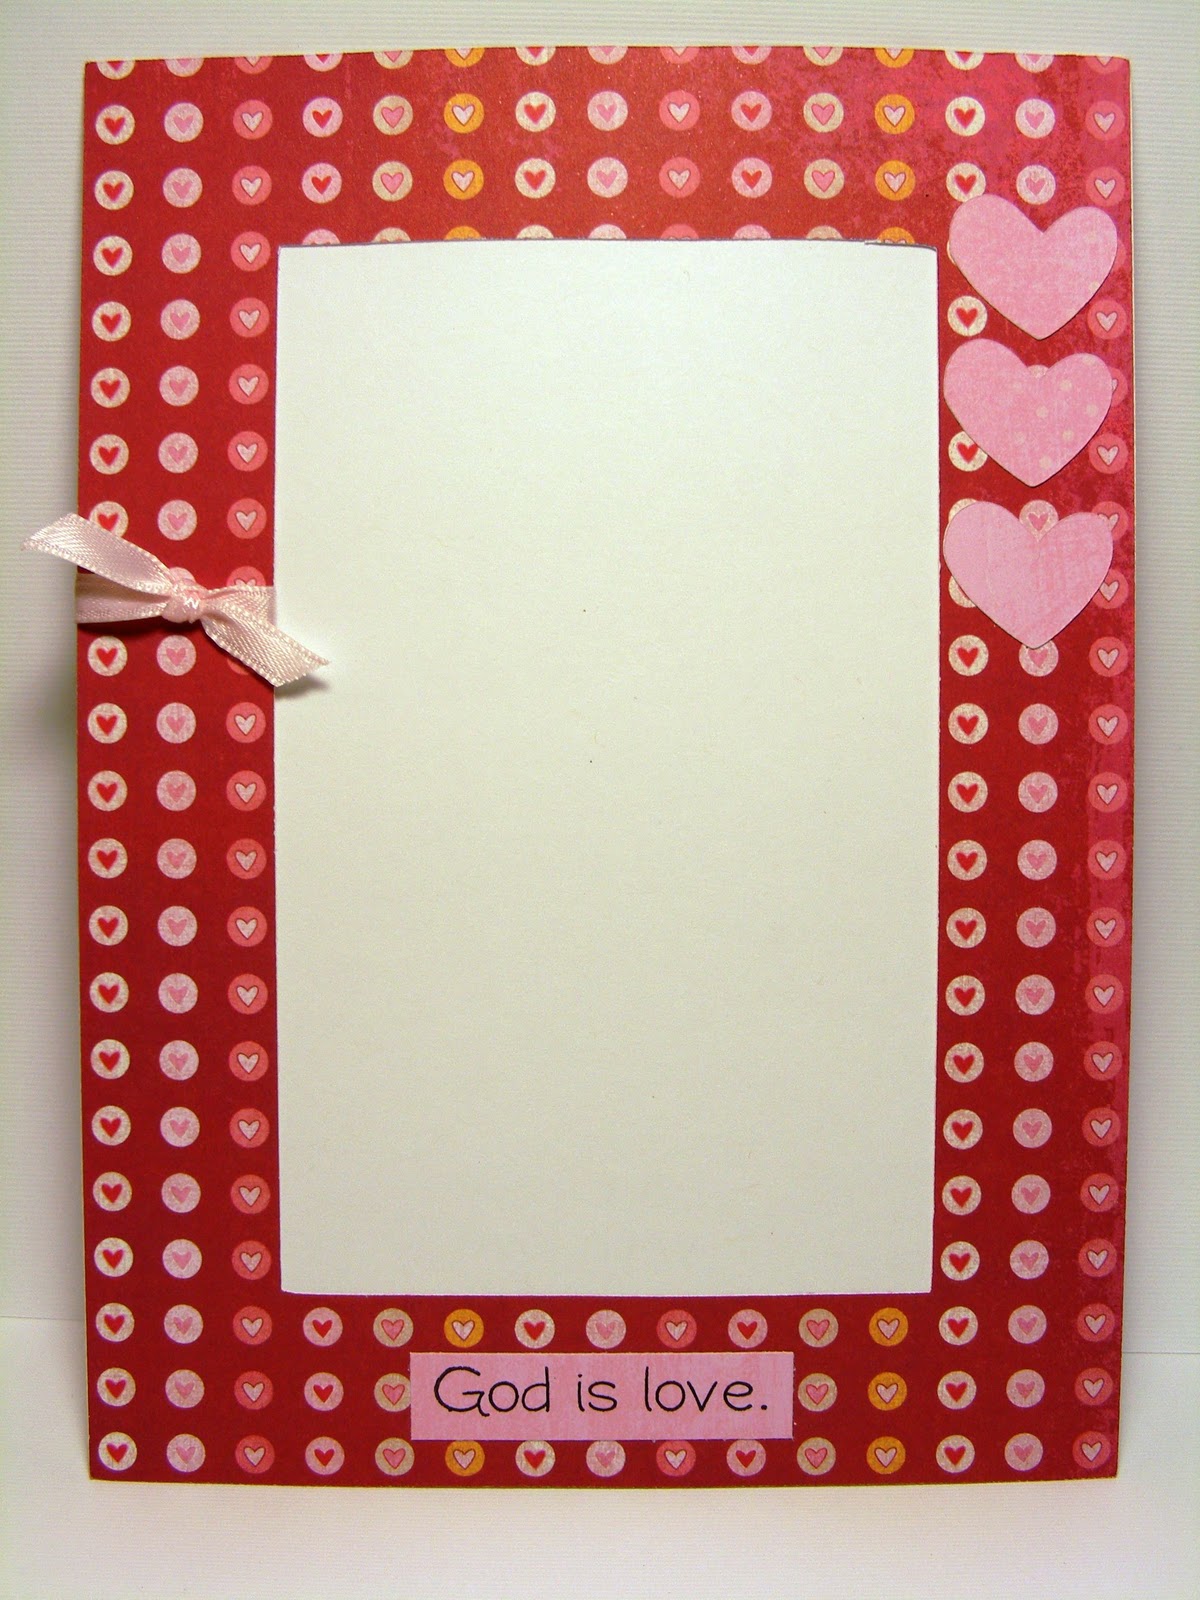
I made 40 magnetic picture frames for a Daddy/Daughter dance at church. A photographer will be taking 4x6 pics and then this will be a souvenir to take home. There is only adhesive on 3 sides so the photo can slide in from the top. These are just a few pictures of the designs I made. I used the amazing, My Pink Stamper Stamps for the sentiments. They are from her NEW stamp sets: Sweet Baby & More Faithful Sayings. Click HERE to check out all of My Pink Stamper Stamps. I also just out some hearts from Simply Sweet Cricut Cart and tied some ribbon around it to embellish it. For the pattern paper I used the K&Company 12x12 KP Valentine paper pad. These are simple & cute frames that you can put your favorite pictures of your loved ones in.

To create the frame I used Plantin SchoolBook to make 2 rectangles:  
Outside W-7.62" x H-5.25"
Inside W-5.51" x H-3.25"
I tried lining the rectangles up perfectly on my gyspy so it was exactly in the center of the frame.
Then I also used the outside rectangle cut for the back of the frame. I just used regular white cardstock for that.


All 40 Frames
The back of the frame
 Come back Friday night at 8pm CST for our Pinkalicious Blog Hop with all the My Pink Stamper Design Team.

Wednesday, September 1, 2010

Sketch Book and Give Away

I wanted to share how I made my sketch book with you and I have a surprise at the end.
Sorry for the background noise. My 3 yr old was watching a movie to keep her quiet.

Sketch Book and Give Away from Simple Creations on Vimeo.

Friday, August 13, 2010

Tag Journal & 1st birthday card

Tag Journal

I made both of these tag journal's for gifts. Once for a baby shower & the other for a 1st birthday.
The insides are the same but the covers are different.
I used paper from K&Company Lion Sleeps 12x12 Paper Pad
I bound it with 1" book rings


All the tags are white with brown ribbon stapled to it. I left them plain so they could put a picture or write something on it.

Here is the recipe for the tag journal.
Cricut Cartridges Used:
Tags, Bags, Boxes & More:
6 - Tag - 5.65"
6 - Folders- 11.35"
2 - Covers - 11.35"
This is the folder & on my gypsy I moved the half the of the folder off my mat that I didn't need. So I only cut half the folder to make a cover. If you don't have a gypsy just cut the folder out & then cut the part off that you need for the cover.

Baby Cover:
Cricut Cartridges Used:
Plantin SchoolBook:
Baby- 1.25"
I cut it regular & then with the shadow feature also.

Quinn Cover:
Cricut Cartridges Used:
Simply Sweet:
Quinn -1.25" Blocked & Blackout Features
Graphically Speaking:
Circle- 3.15"
To make a 1/2 circle I moved it on my gypsy 1/2 off the mat so it would cut it the way I wanted.


This is a card that I made to go with Quinn's Tag Journal.
Card Recipe:
Cricut Cartridges Used:
Graphically Speaking:
number 1 collage - 1.37"
Simply Sweet:
Gift Box - 2.18" Shift & Gift Box Shadow - 2.08" Shift Shadow
Alphalicious:
1 -  1.04" Short Stack Shadow Feature

I know there are alot of instructions for this project but it is alot of fun & a great gift. Once you make one then it becomes alot easier.